This page was last revised for version 5.0.0.
Most SNT features are triggered by keyboard shortcuts. Shortcuts are typically single keystrokes and most do not require other modifier keys to be pressed. Most are highlighted in the user interface. E.g., to toggle the Trace/Fill on Secondary Layer checkbox, one only needs to press its highlighted letter, i.e., L.
Typically, when ⌃ Ctrl / ⌘ ⌃ Ctrl on a PC ⌘ command on a Mac is pressed, hotkeys are not intercepted by SNT. E.g., During a tracing session pressing N triggers No* in the interactive prompt while ⌃ Ctrl / ⌘ ⌃ Ctrl on a PC ⌘ command on a Mac + N will trigger IJ’s built-in command File › New › image….
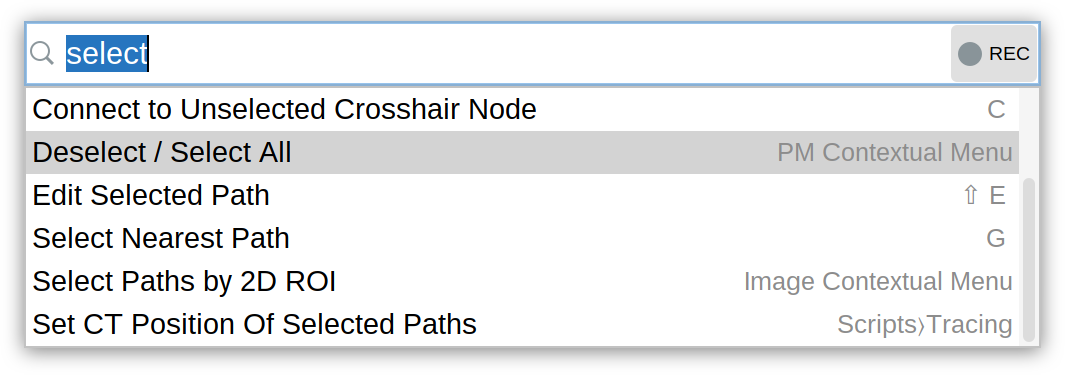
The Command Palette (⌃ Ctrl / ⌘ ⌃ Ctrl on a PC ⌘ command on a Mac + ⇧ Shift + P) is the fastest way to access actions and discover their respective shortcuts!
Interactive Prompt
| C | Cancels a path. Note that you can finish a path by pressing N N twice |
| F | Finishes a path. Note that you can finish a path by pressing Y Y twice |
| N | Discards the current temporary path. Mnemonic: No |
| Y | Confirms the current temporary path. Mnemonic: Yes |
| ⎋ Esc | Aborts current operation / Exits current mode |
Navigation and Zoom
| ⇧ Shift | Synchronizes XY, ZY, and XZ views while moving the cursor when not using cursor snapping |
| + / - | Zooms in/out (Simultaneously on all views) (IJ default) |
| 4 | Displays tracing view(s) at original scale (IJ default) |
| 5 | Displays tracing view(s) at 100% (IJ default) |
| ␣ Space | Activates the Pan (Hand) tool (IJ default) |
| > / < | Previous/Next Z-slice, or Previous/Next channel, depending on the Reverse CZT order of “>” and “<” choice set in IJ’s Edit › Options › Misc… prompt (IJ default) |
| ↵ Enter | Shuttles the window focus between the tracing image and the SNT window |
| ⌃ Ctrl + ⇥ Tab ⌃ Ctrl + ⇧ Shift + ⇥ Tab | Activates the next/previous tab in the main SNT window |
Path Handling
| 1 | Toggles the first visibility filter: Whether all traced paths should be displayed or just selected ones |
| 2 | Toggles the second visibility filter: Whether all nodes should be displayed across the Z-stack or just those in nearby Z-slices |
| 3 | Toggles the third visibility filter: Whether paths from all channels/frames should be displayed or just those in the active channel/frame |
| G | Selects the nearest path to the mouse cursor. Holding ⇧ Shift + G adds the path nearest to the mouse cursor to the current list of selected paths. Mnemonic: Group paths around cursor. Note that Paths can only be edited one at a time, and thus ⇧ Shift + G is disabled in Edit Mode |
| H | Temporarily Hides all paths/annotations while pressed |
| O | Temporarily shows path Orientations (start→end direction) while pressed |
Tracing
These shortcuts are available when running SNT in Tracing Mode:
| ⌃ Ctrl + S / ⌘ Command + S | Save tracings |
| ⌃ Ctrl + ⇧ Shift + S / ⌘ Command + ⇧ Shift + S | Save Snapshot Backup |
| L | Toggles Tracing/Filling on Secondary Layer (filtered image) |
| V | Finds the brightest Voxel above and below the current x,y position and automatically clicks on it. If multiple maxima exist, their average positioning is used. Note that this feature assumes that neurites are brighter than the background |
| S | Toggles cursor Snapping: If enabled, the plugin will automatically move the cursor to the brightest voxel within the specified x,y,z snapping window1. When set correctly, this facilitates accurate positioning of path points |
⌥ Alt + ⇧ Shift +  Left Click Left Click |
Selects a point along the active path to be used as forking point (See step-by-step instructions for more details on joining and branching). This shortcut can be simplified |
| ⇧ Shift + B | Bookmarks cursor location |
| ⇧ Shift + E | Activates Edit Mode (Editing of selected Path) |
| ⇧ Shift + P | Pauses tracing operations |
Path Editing
These shortcuts become available in Edit Mode, activated through the contextual menu (displayed with  Right Click on a tracing canvas), or by pressing ⇧ Shift + E:
| B | Brings active node to current Z-plane |
| C | Connects highlighted nodes (see Connect to Help… in contextual menu) |
| D | Deletes the active node |
| I | Inserts a new node at cursor position |
| L | Locks active node to prevent accidental editing |
| M | Moves active node to cursor position |
| R | Changes the Radius of active node |
| X | Splits tree at active node, re-rooting the selected structure at the active node |
Reconstruction Viewer
| ← Left → Right ↑ Up ↓ Down | Rotate (with mouse: Left Drag) |
| ⇧ Shift + ← Left → Right ↑ Up ↓ Down | Pan (with mouse: Right Drag) |
| + / - | Zoom (with mouse:  Mouse Wheel) Mouse Wheel) |
| Double Click |
Toggle animation |
| ⌃ Ctrl + Left Click |
Snap to top/side view |
| A | Toggle Axes |
| C | Toggle Camera Mode |
| D | Toggle Dark Mode |
| F | Fit View to Visible Objects |
| H | Help (as Notification) (F1 shows Help on a dedicated window) |
| L | Log Scene Details to Console |
| R | Reset View (1 press) or Reload Scene (double press) |
| S | Save Screenshot |
| ⇧ Shift + C | Toggle Control Panel |
| ⇧ Shift + F | Toggle Full Screen (⎋ Esc can also be used to exit) |
| ⇧ Shift + S | Toggle Status Bar |
| ⌃ Ctrl + ⇧ Shift + P / ⌘ Command + ⇧ Shift + P | Toggle Command Palette |
sciview
| Left Drag |
Move around |
| ⇧ Shift + Left Drag |
Rotate around selected node |
| Left Click |
Select node |
| Double Click |
Centers clicked node |
| ⇧ Shift + Mouse Wheel |
Zoom |
| W A S D | Move around (hold ⇧ Shift for slow movement) |
See sciview’s Help › menu for a full list of shortcuts.
Legacy 3D Viewer
The most important shortcuts for the Legacy 3D viewer are:
| H | Selects the Hand (pan) tool |
| W | Selects the Wand (tracing) tool |
| Middle Drag |
Rotation |
| ⇧ Shift + Middle Drag |
Pan (translation) |
| Mouse Wheel |
Zoom |
| ⇧ Shift + Left Drag |
When Hand tool is active: Pan (translation) |
| Left Drag |
When Hand tool is active: Rotation |
In addition, most shortcuts that are not specific to tracing canvases (XY, ZY and XZ views) can be used in the 3D Viewer. When a key stroke is not recognized by the 3D Viewer, a message is displayed in the status bar of the main dialog.
Other
There are other key and mouse combinations used in e.g., Sholl Analysis (by Focal Point), and Branching and Joining Paths, that are listed in the contextual menu, displayed when right-clicking a tracing canvas.