The content of this page has not been vetted since shifting away from MediaWiki. If you’d like to help, check out the how to help guide!
Introduction
This tutorial explains how to upload changes to core ImageJ2 and Fiji libraries.
The typical workflow is:
- Update Fiji.git to depend on the latest pom-scijava
- Use
mvn -Dimagej.app.directory=$HOME/Desktop/Fiji.app/ -Ddelete.other.versions=trueto install into an existing (up-to-date) Fiji installation - NOTE: if there are any version downgrades at this point, this indicates dependency skew. Fiji.git should be updated appropriately, restarting from step 1
- Upload changes to ImageJ update site
- Upload changes to Fiji update site
There is a known issue where bio-formats_plugins.jar is placed in /jars/bio-formats by this maven job. It should be manually moved to /plugins/
Responsibility of uploaders
To facilitate reproducibility and present a unified application to both users and developers, uploaders should strive to keep each core update site synchronized with its corresponding source code.
Because releases are tied to the source code (and the update site contents are not explicitly versioned), the order of update should always be:
- Source code
- Update site
Source repository for each core update site:
| Update Site | Source |
|---|---|
| ImageJ | master branch of imagej2.git |
| Fiji | master branch of fiji.git |
Getting started
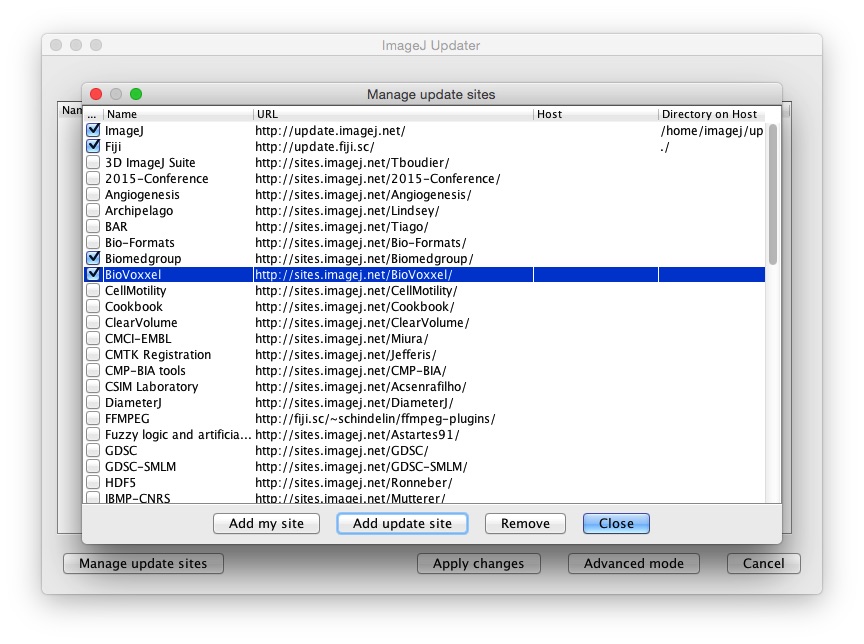
First of all, start the updater with Help › Update and click on :

From this dialog, you can edit the desired update site(s) to add your authentication information.
Configuring Fiji update site
The Fiji update site uses webDAV authentication. To upload something, you will need to:
- Ask an administrator to create a WebDAV account for you, and grant permission for uploading to update.fiji.sc.
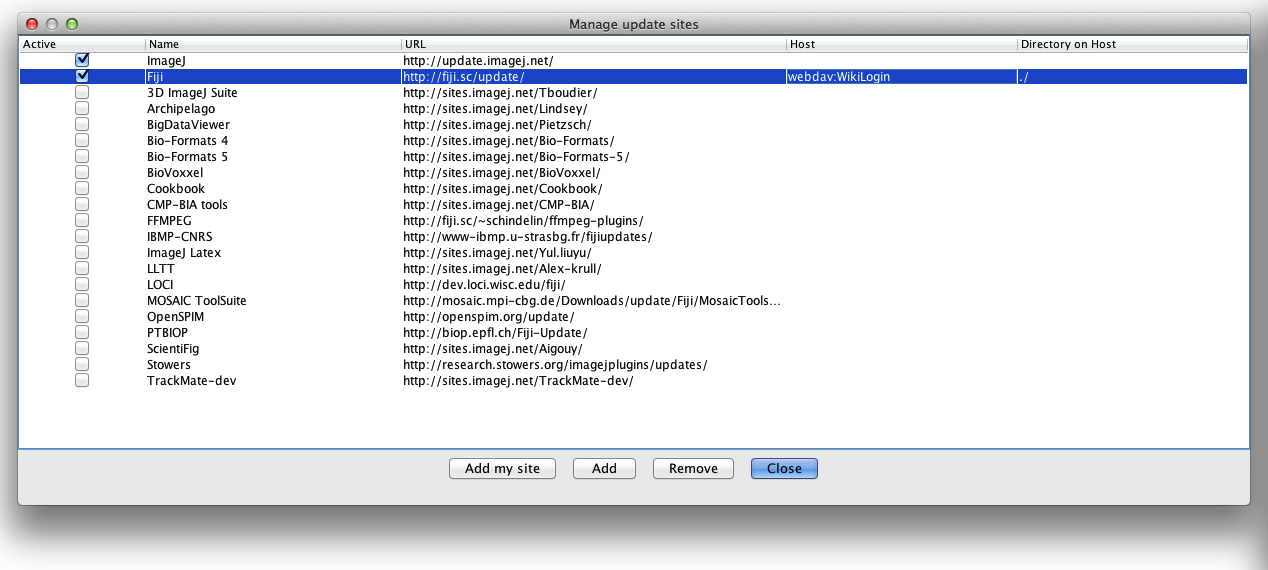
In the Manage update sites dialog, on the Fiji update site line, add the following information:
- Host = webdav:YourWebDAVLogin
- Directory on host = ./
Note that your username will always start with an upper case letter. It should look like this:

You can now close the Manage update sites window and go on to Uploading your resources.
Configuring the ImageJ update site
The ImageJ update site uses ssh authentication. You will need a login with the imageJ update site that some administrator will have to add to the ij-update group.
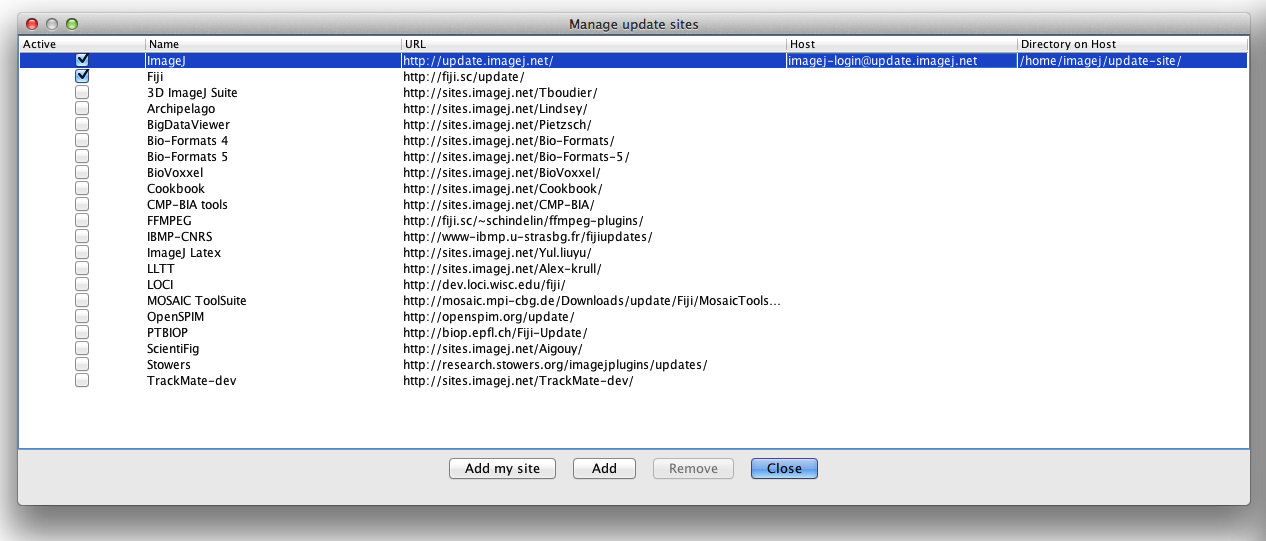
In the Manage update sites dialog, on the ImageJ update site line, add the following information:
- Host =
yourImageJLogin@update.imagej.net - Directory on host =
/home/imagej/update-site/
It should look like this:

You can now close the Manage update sites window and go on to Uploading your resources.
Uploading your resources
See the Uploading files to your update site section of the set up and populate tutorial.