The content of this page has not been vetted since shifting away from MediaWiki. If you’d like to help, check out the how to help guide!
|
|
|
| File |
VIB_.jar |
| Source |
The Name Landmarks and Register plugin provides a simple interface for marking named points in images, and optionally to register two images based on the named points that occur in both. The following tutorial describes how to do this.
Registration is done to a template image, so if you wish to register a image to the template then at a high level what you need to do is:
- Mark points in the template images, and save the points file
- Set the template image to be the default template image
- For each image for registration, mark as many common points as you can, save the points file and select one of the registration options
Marking Points in a New Image
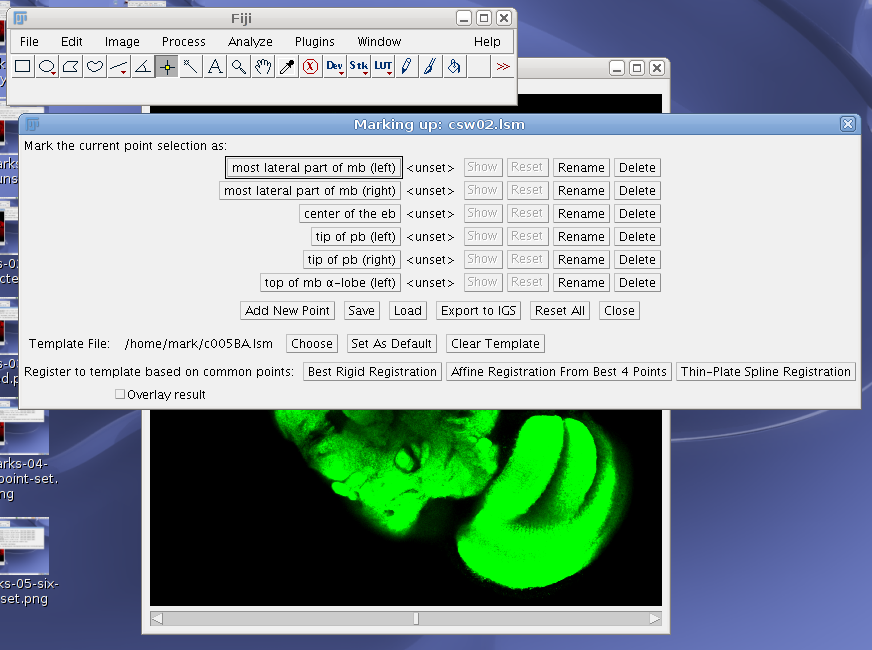
To make points in a new image, open that image and start the plugin Name Landmarks and Register. You should see a dialog something like this:
There is only one named point so far, which has been given the name “Named Point (0)” and does not have its position set. We should change this name so that it refers to feature we can easily and uniquely find in this image. In this example, I’m going to call this first point “most lateral part of mb (left)”, and I change the name by clicking the “Rename” button and entering some new text. The result of that should look like this:
Now we need to set the position of that point. You do that by:
- Choosing the “Point Selection” tool from the Fiji toolbar
- Moving to the right slice in the stack and clicking on the point where you want to make the landmark
- Clicking the button with the name of the point (in this case “most lateral part of mb (left)” in the Name_Points dialog
After the first two steps this should look something like this: (note the crosshairs in the image window)
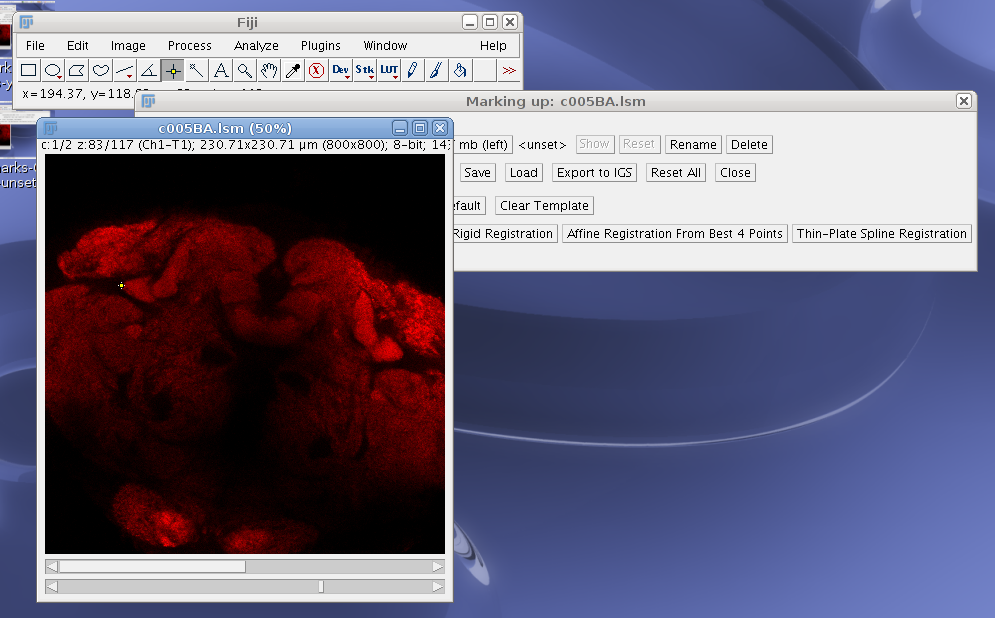
… and after step 3 (clicking the appropriate button to mark the point) it should like this:
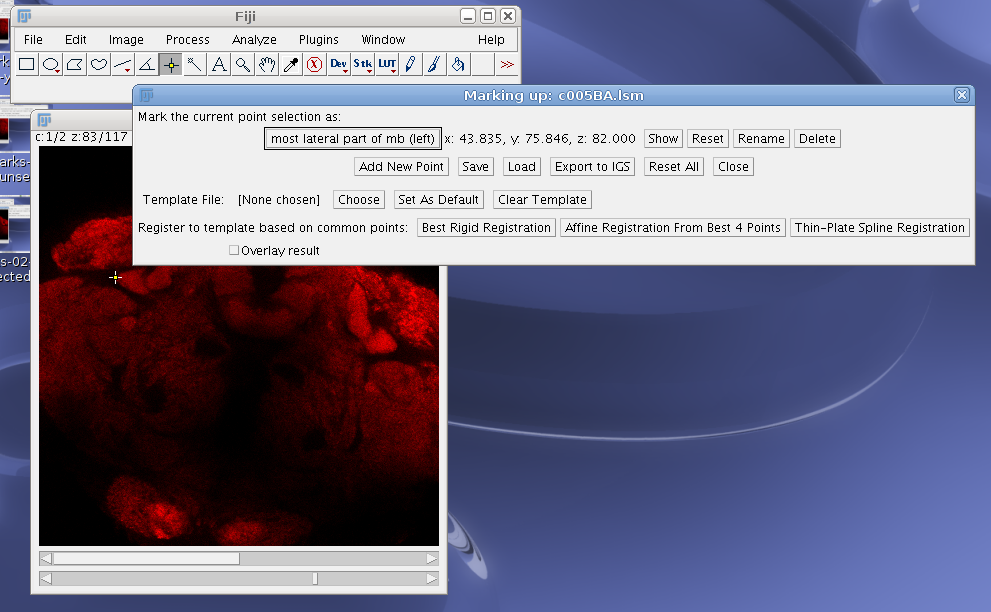
As you can see, the x, y and z coordinates of that point have been recorded in the interface. To add a second point, click on “Add New Point” and repeat the process:
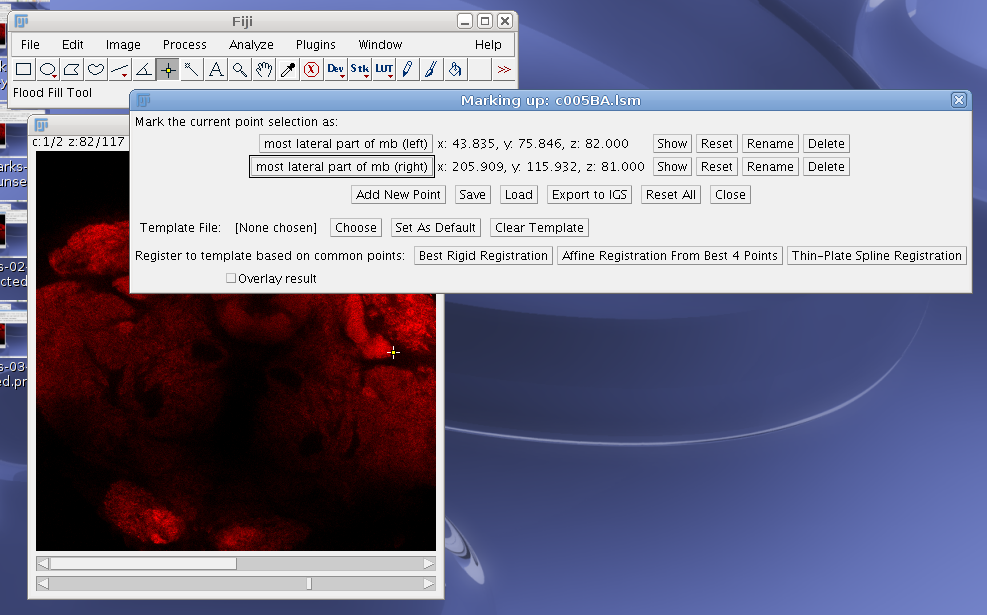
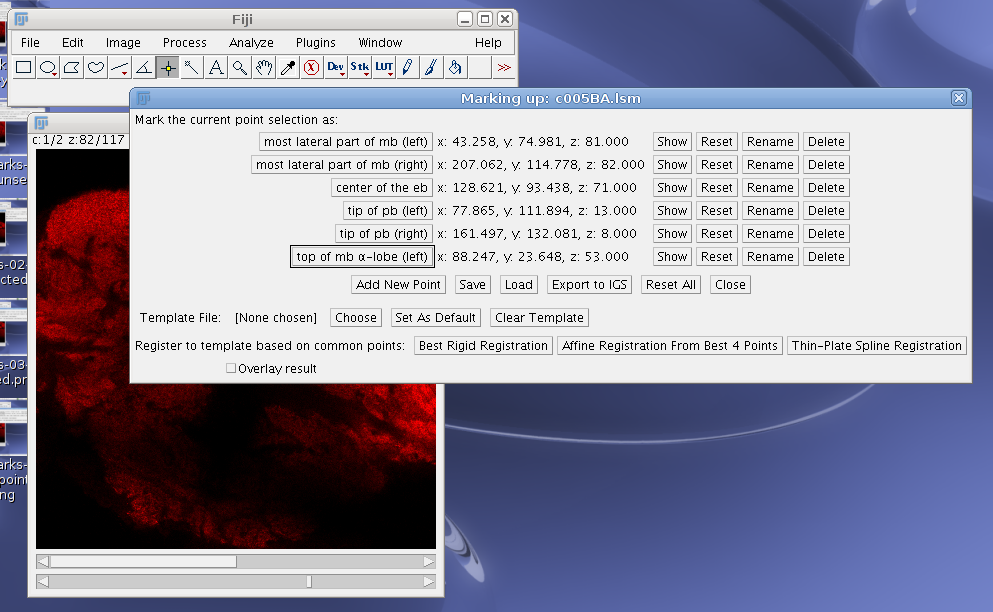
We will set 6 different named points in this template image. For registration it’s important that you pick points that are easily and uniquely identifiable, not too variable in relation to the rest of the image and that the points are spread around the image. (If you only select points in a single plane, the registration steps are not likely to work well.) After selecting all of these points, the interface should look something like this:
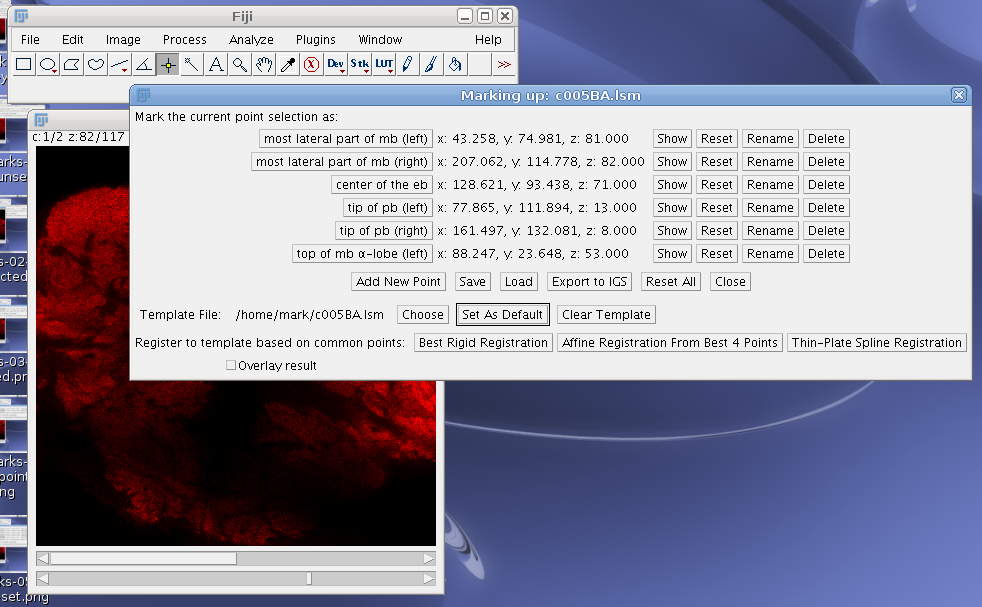
This is the image that we are going to use as a template for all the subsequent images, so we should set this as the default template. To do that, following the following steps:
- Save the points file by clicking on “Save”. This should suggest the filename of the image, but with the extension changed to “.points”. (e.g. if the image name is test.tif, the suggested points filename is test.points.) You should stick to this convention so that the Name Landmarks and Register plugin can automatically find the points files for your images.
- Load this image as a template filename. You do this by clicking on “Choose Template” and selecting the file containing the template image. (i.e. when choosing the template, it’s the image file, not the points file, that you want to select.)
- Click on “Set As Default” to store the name of this template file as an ImageJ preference. This is recommended so that the next time your start the plugin it can load the template image and template points for you automatically.
Once you’ve selected the image, the interface will look like this:
Next we will move on to marking up an image that we’d like to register to the template, so click the “Close” button in the dialog or close the dialog in the normal way. Close the template image as well.
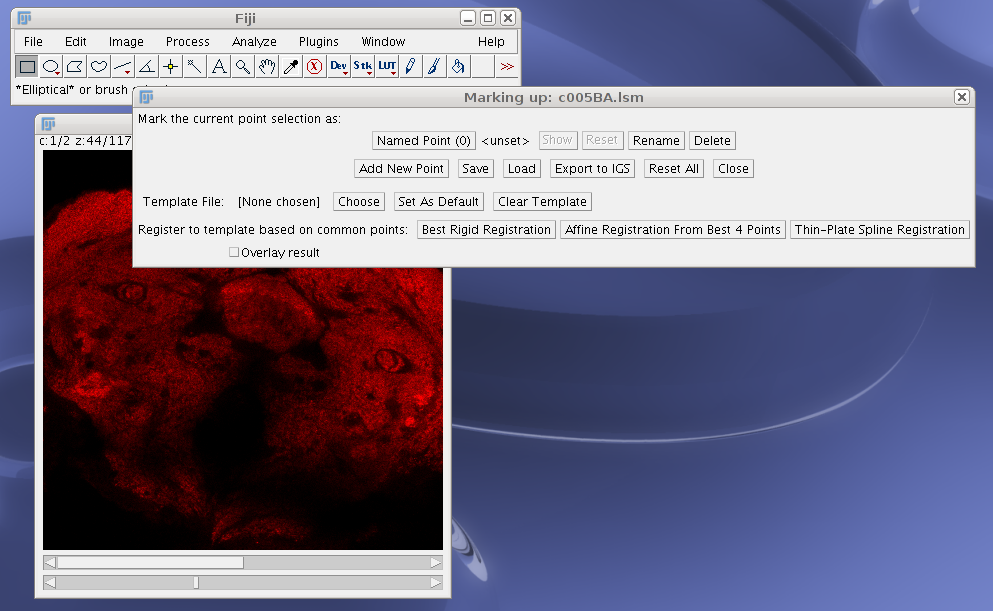
Now we load in the new image for registration, and run the Name Landmarks and Register plugin again. If you set the template image as the default template then you should see that the dialog is populated with the names of the points that have been marked in the template, but with no positions set yet:
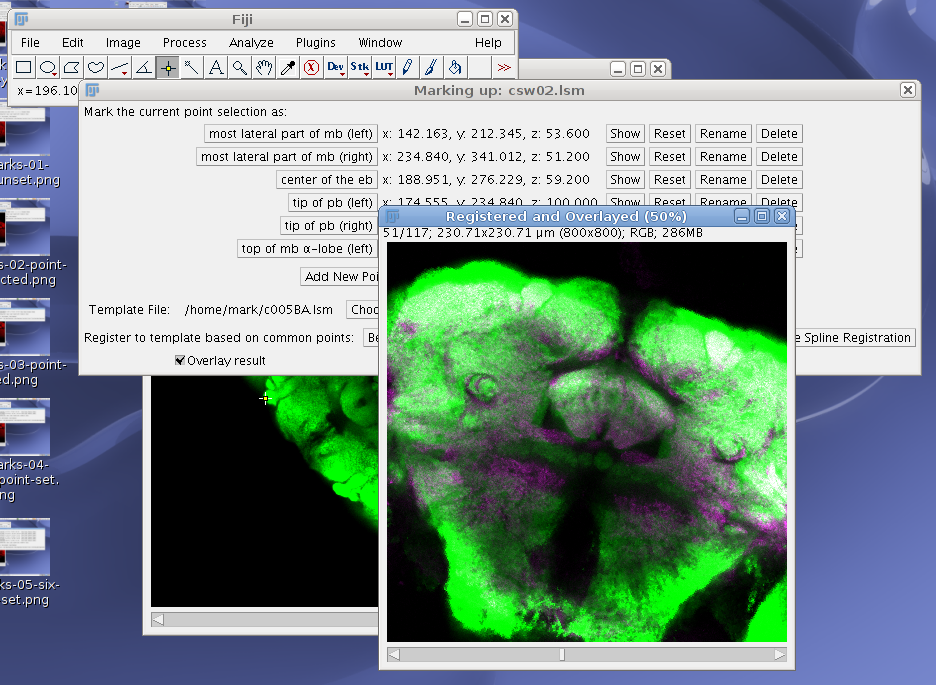
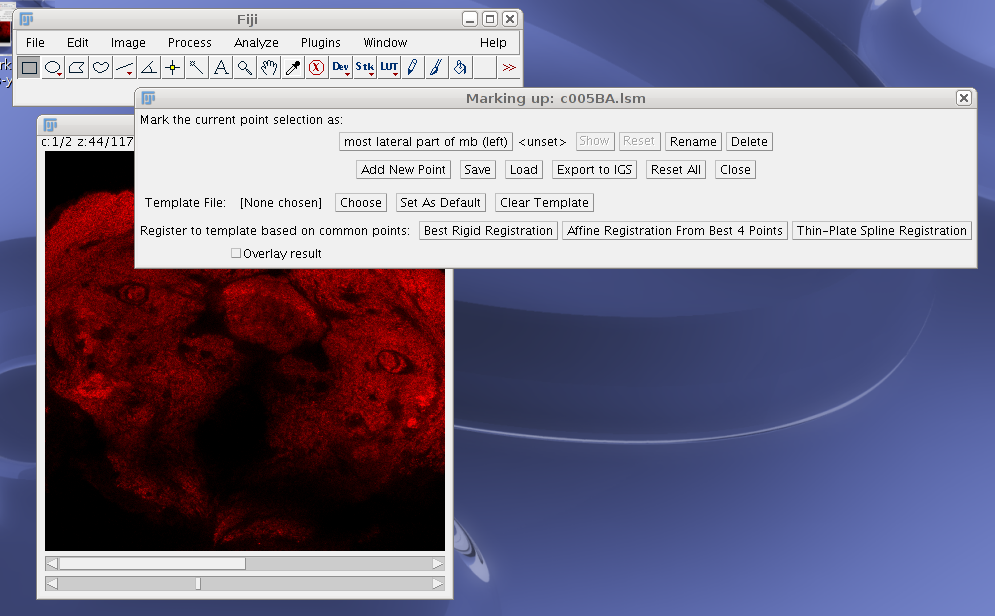
Now you should mark the corresponding points in this image in the same way as for the template (except, of course, that one doesn’t need to add new points). If you now want to register these images based on these landmarks, you can select one of the three buttons at the bottom which will calculate the transformation in different ways. An example is shown here: