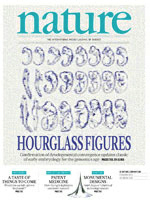
Nature cover for the paper on the developmental hourglass.
This project explores the algorithms for reconstructing scientific images as a combination of other scientific images drawing from a large database of scientific imagery. The resulting image can be visually stunning given that a large database with good balance of colors is available. One such database consisting of about 66,000 images of gene expression patterns in Drosophila embryogenesis is provided here as a starting point. The results of the plugin can be used as material for cover art such as for example the Nature cover on the right.
There are many online or offline solutions available for reconstructing images in this way, some of them undoubtedly more sophisticated than the CoverMaker. The CoverMaker is open source, integrated into Fiji and so can serve as platform for exploring the associated image analysis questions. Everyone is welcome to improve the code and the algorithms, contribute more image databases and show off the results of their experiments.
Please note that the Nature cover was NOT made with the CoverMaker plugin, but it inspired its subsequent development. Below we show the template image depicting the famous Ernst Haeckel embryo drawings and the resulting output image generated using the CoverMaker. For more examples jump to the Gallery section.
Drawing of Haeckel embryos

For afficionados this is in fact Romanes’ 1892 copy of the Ernst Haeckel drawing. If you consider Haeckel a fraud, think again and start by reading the excellent Robert J. Richards book “The Tragic Sense of Life”.
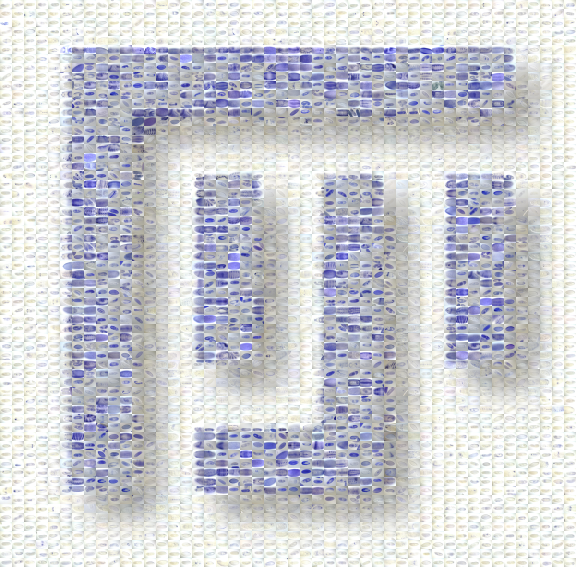
CoverMaker rendition of Haeckel embryos

The image was generated using a database of 66,579 images of gene expression pattern during Drosophila embryogenesis visualized by histochemical RNA in situ hybridization.
Gallery
Here are some example CoverMaker images. Feel free to send your experiments particularly if you make it on the cover ;-).
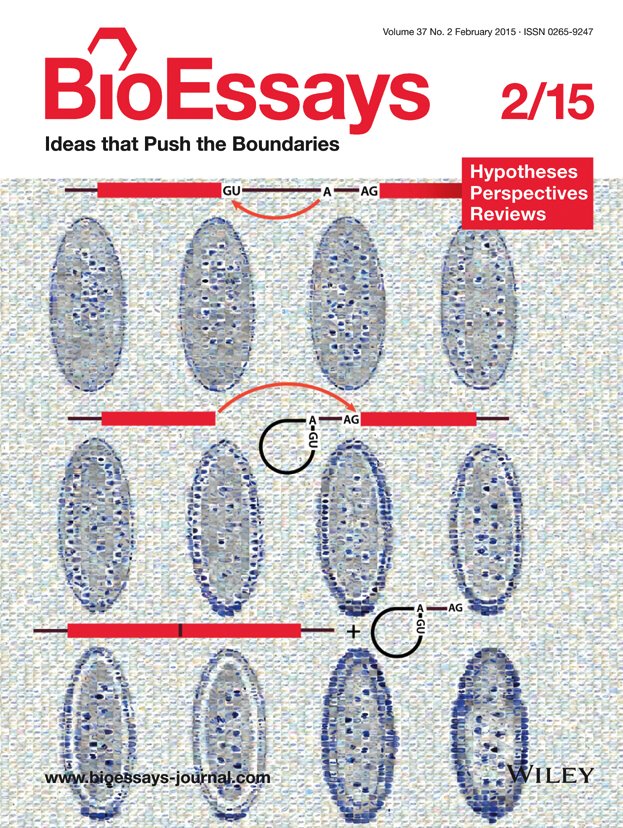 Backcover of Bioessays featuring famous drawing of early Drosophila embryogenesis by Victoria Foe
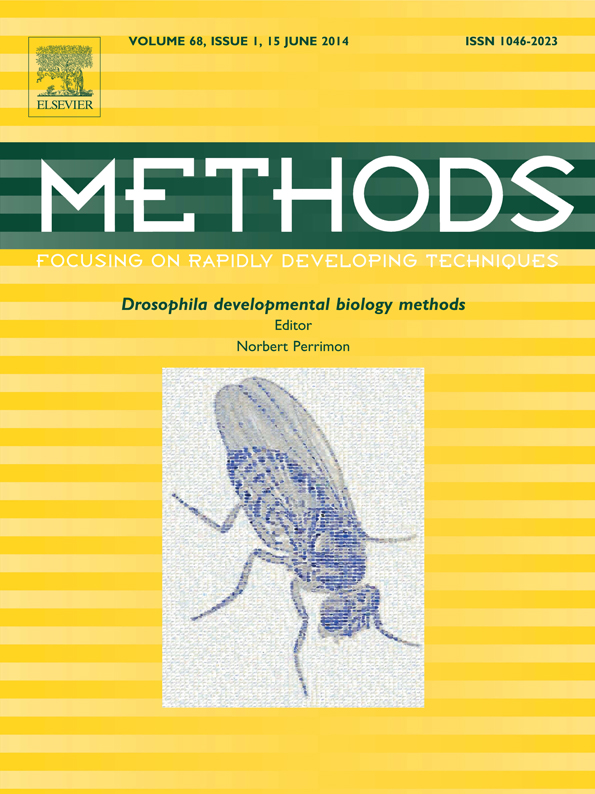 Cover of Methods journal focused on Drosophila, edited by Nobert Perrimon
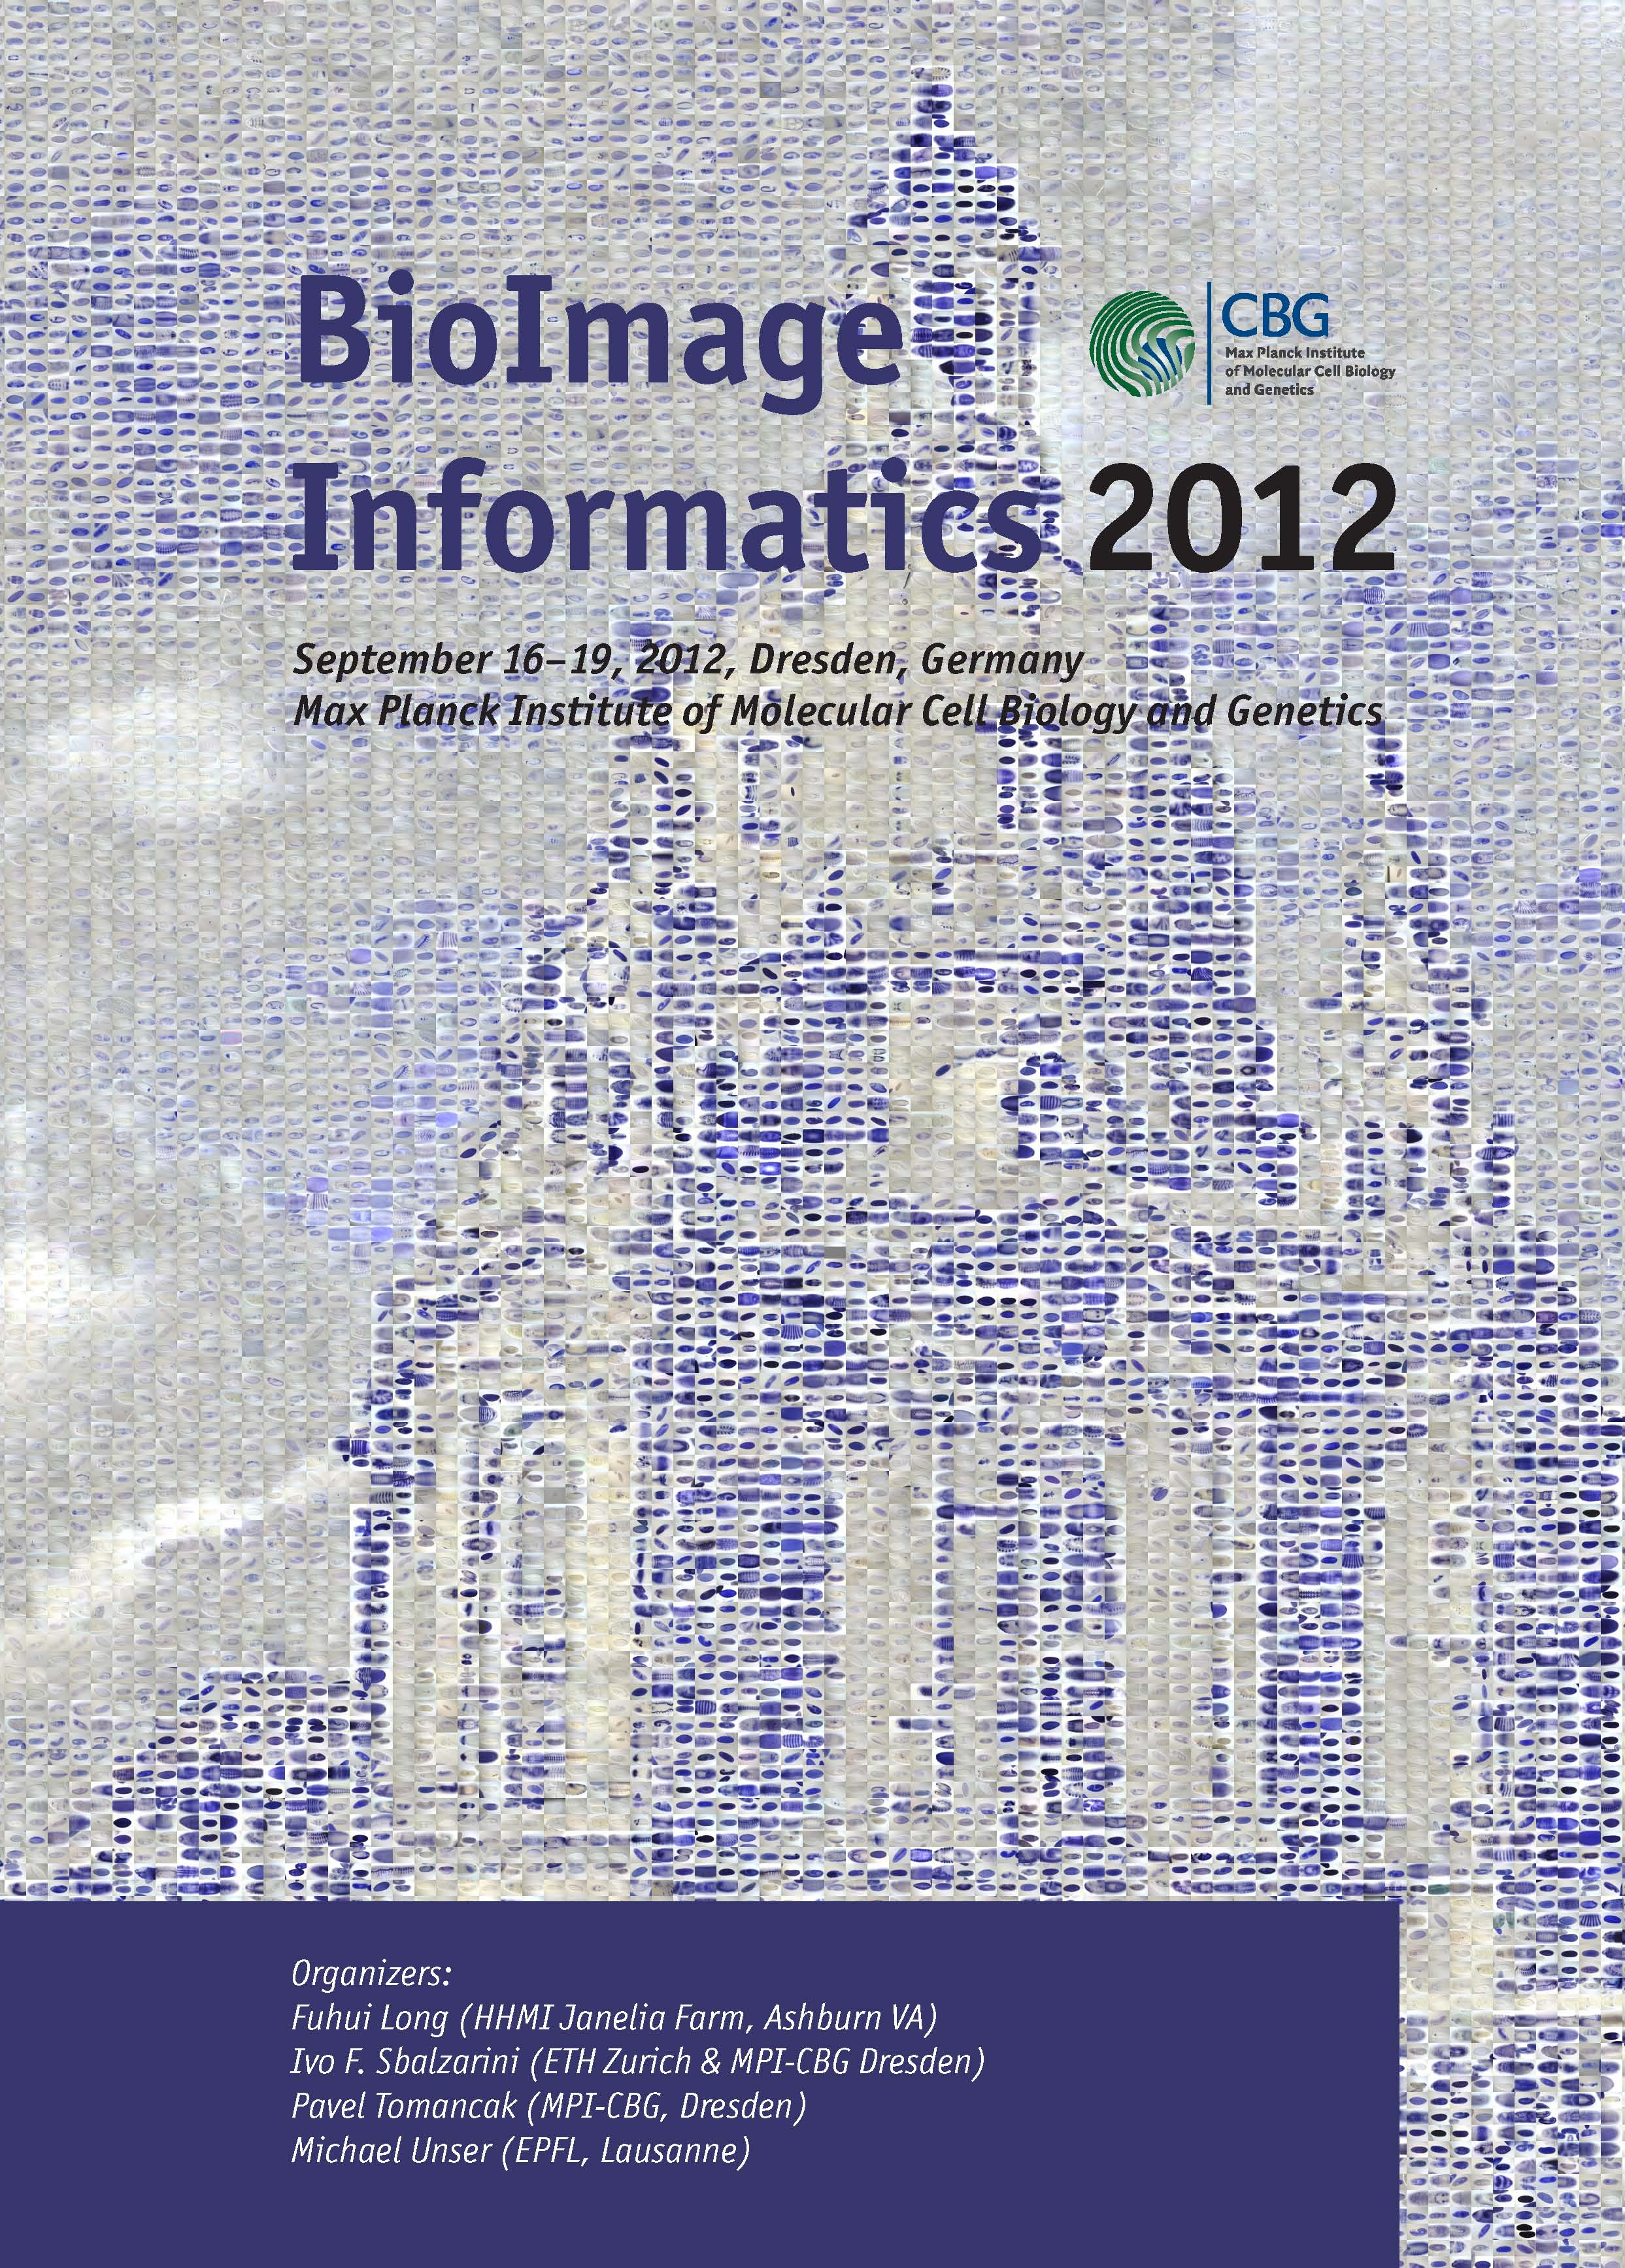 Cover of Bioimage Informatics 2012 conference brochure
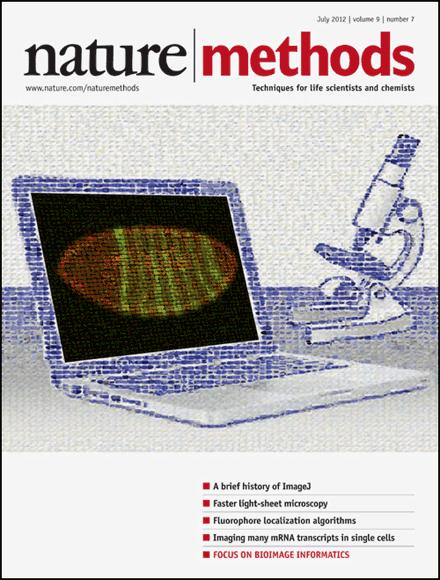 Cover of July 2012 Issue of Nature Methods containing focus on Bioimage Informatics
 high-resolution version of Nature Methods cover
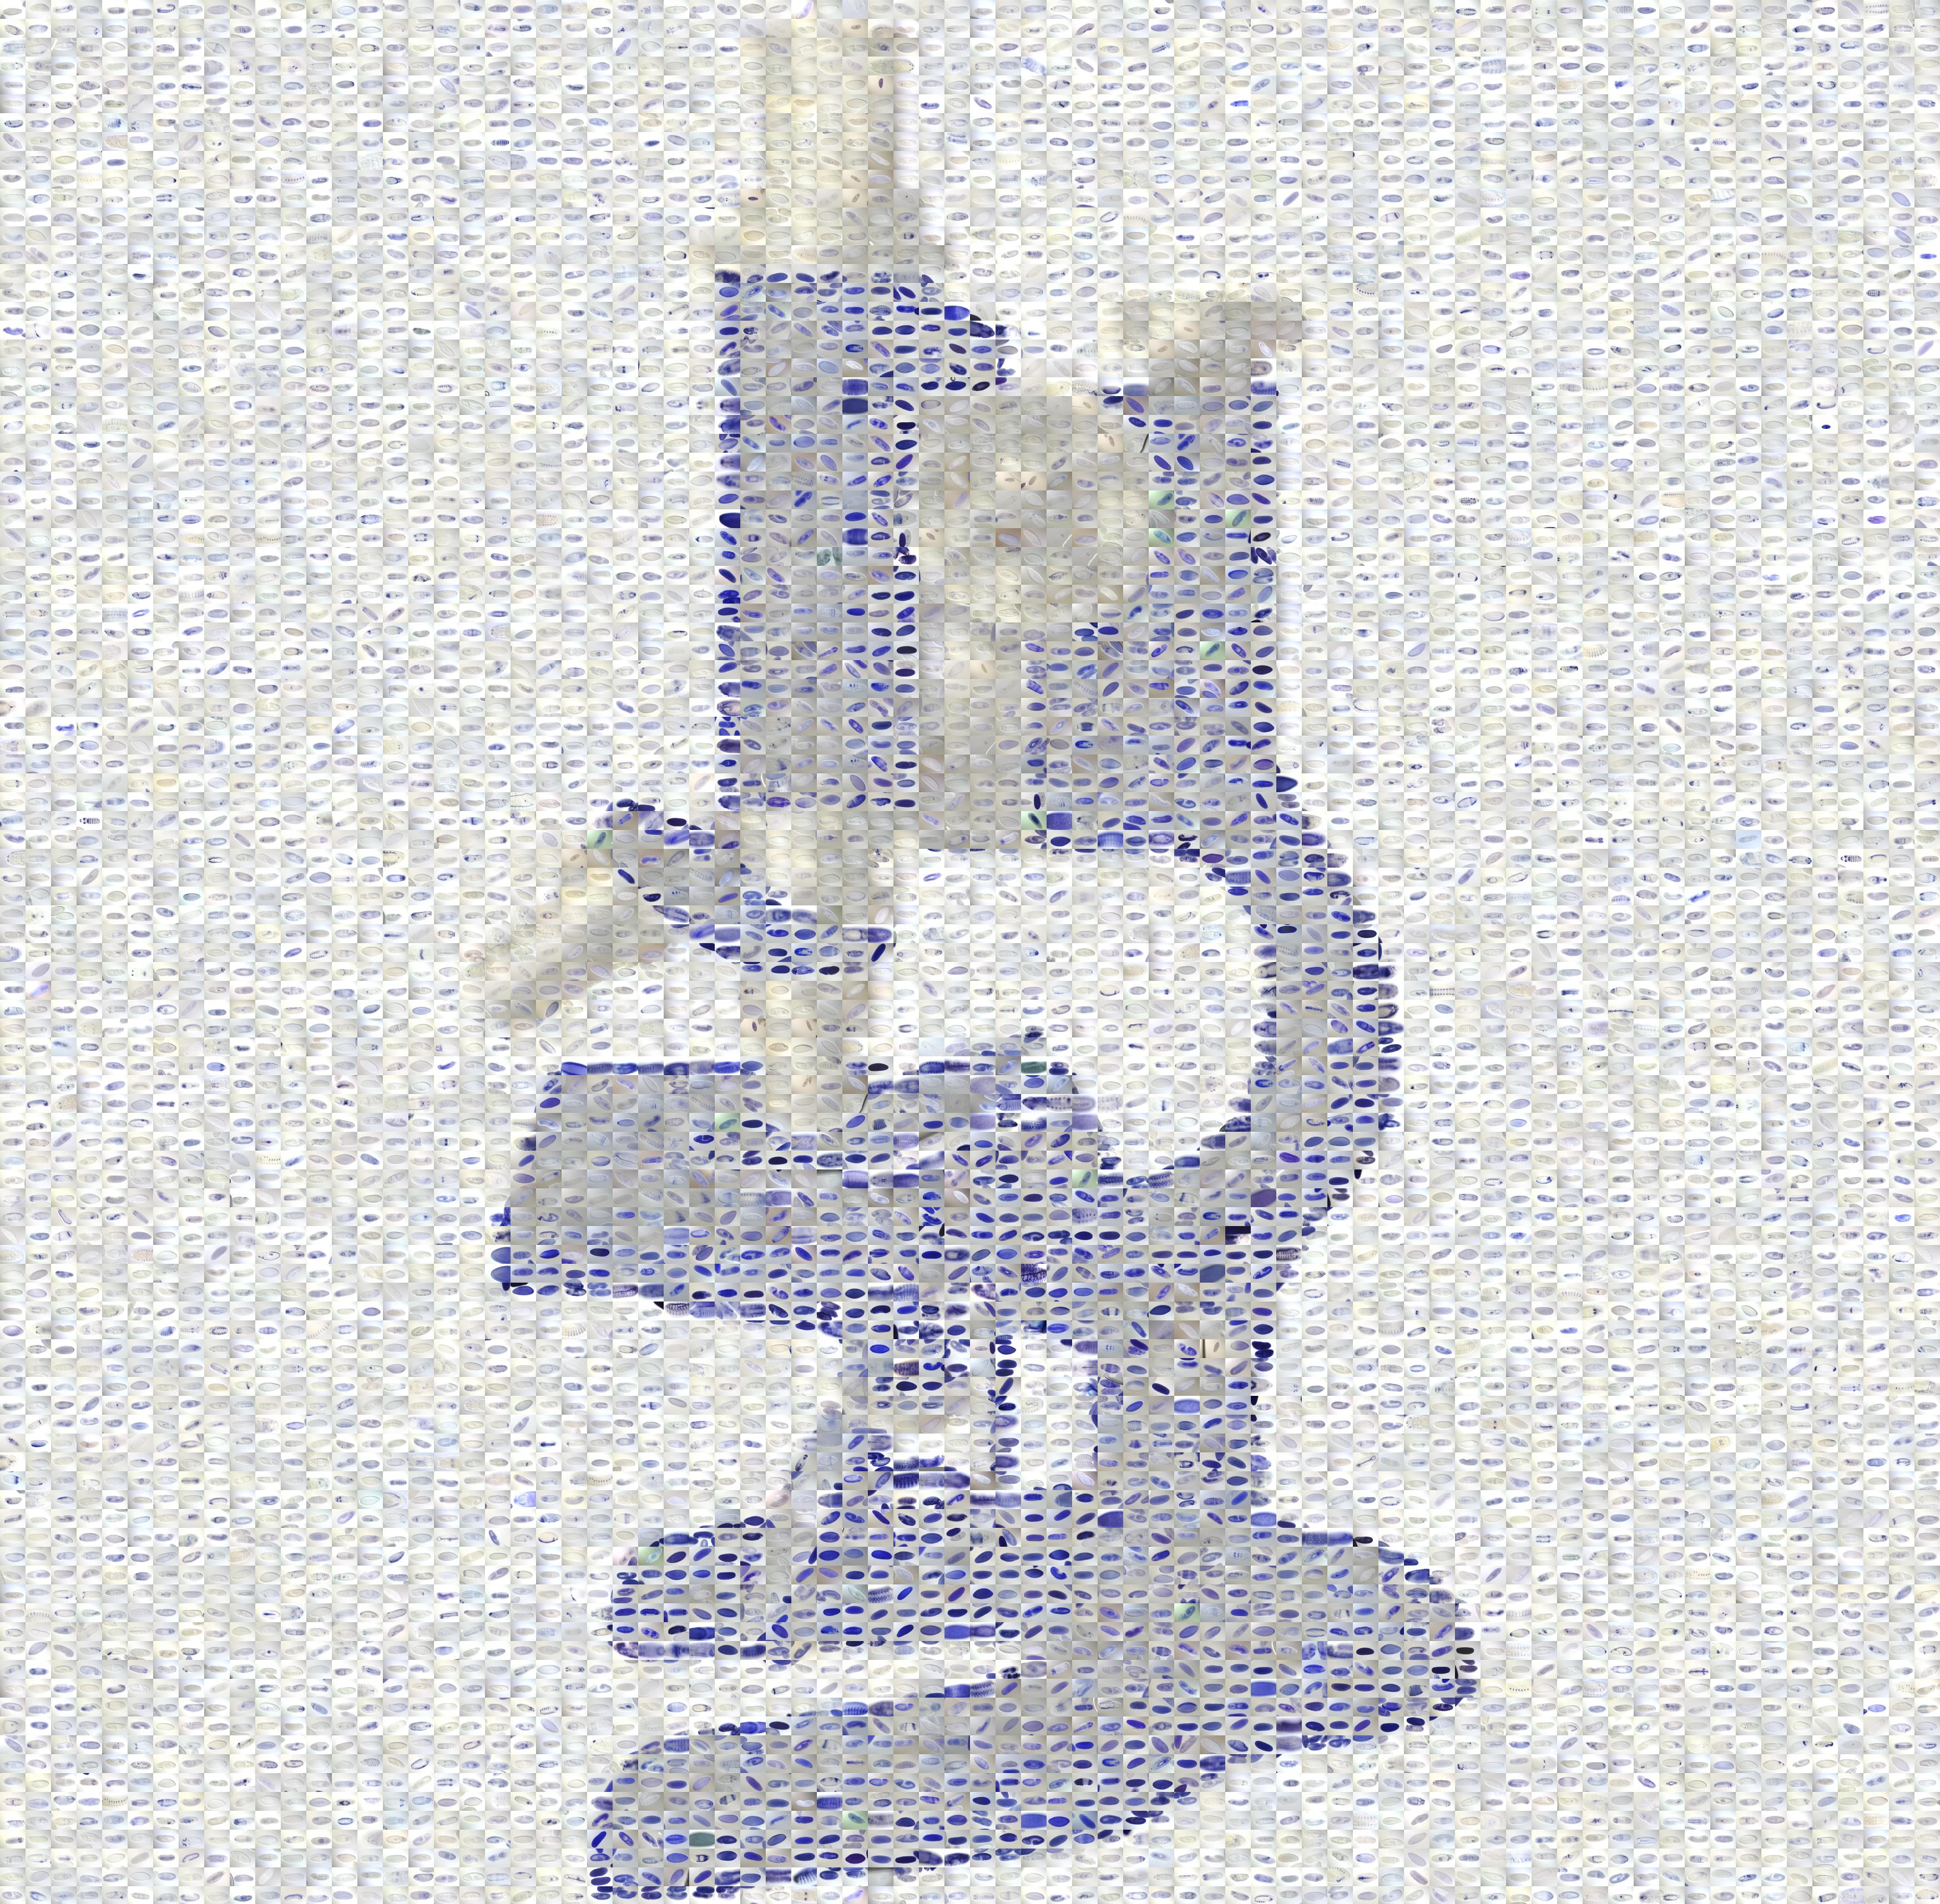
 Open clipart microscope
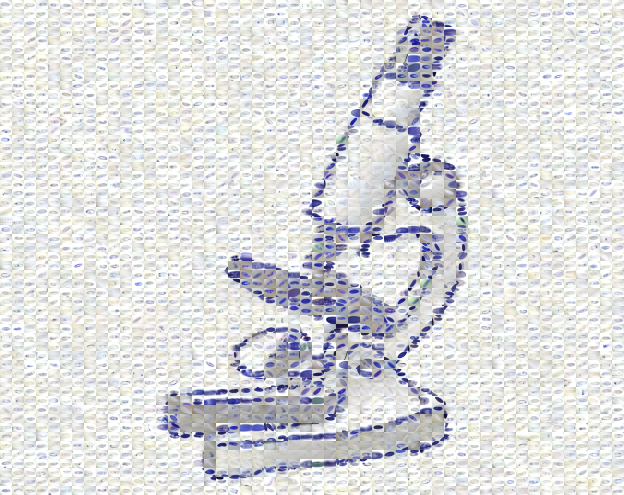
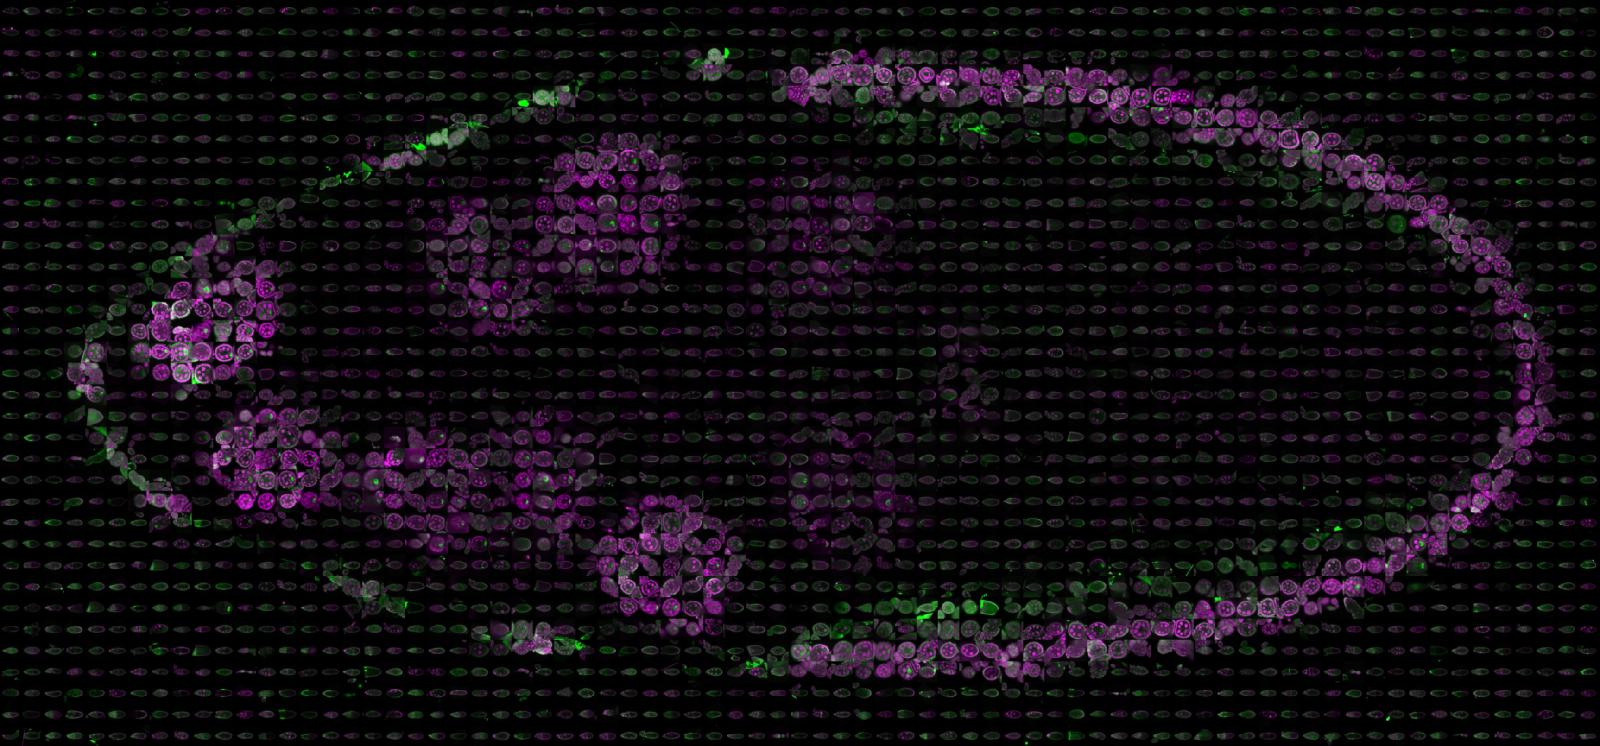
 Runt expression pattern at cellular blastoderm stage of Drosophila embryogenesis
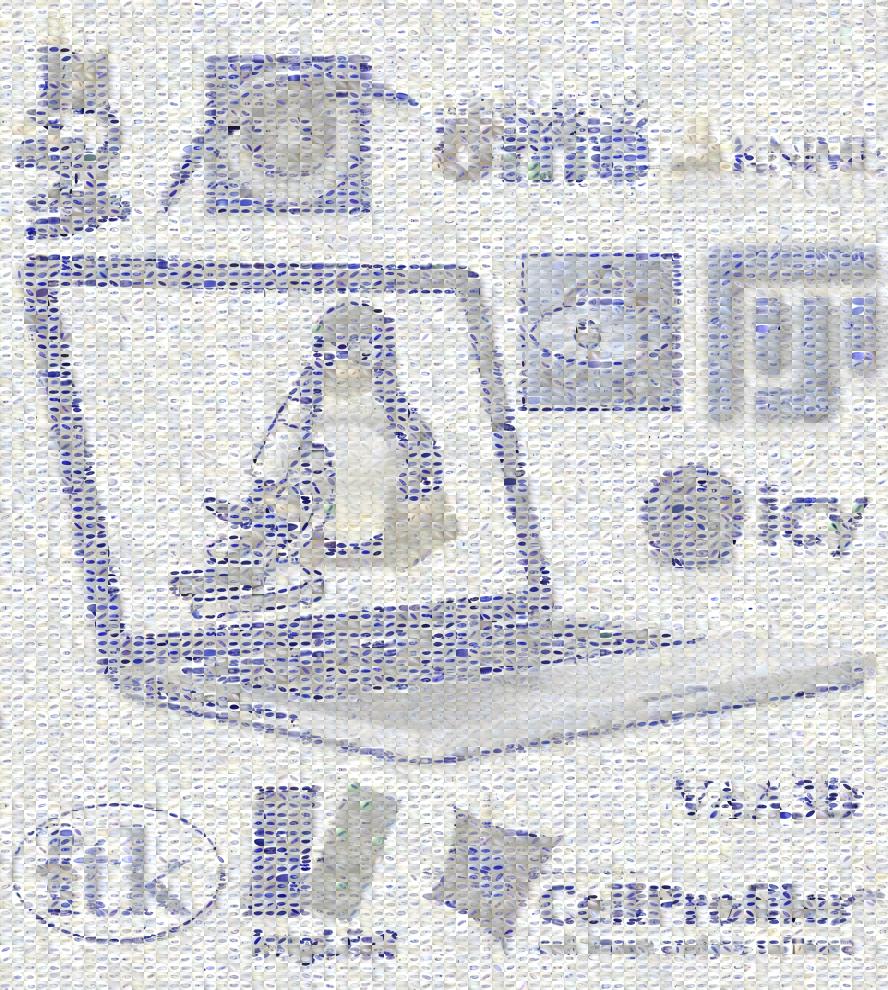 Cover suggestion for Focus on Bioimage Informatics - logos
 Stage 10 Drosophila egg chamber
 Dorsal ectoderm expression at blastoderm satge
 ImageJ2 logo
Haeckel embryos
ImageJ2 logo
Haeckel embryos
 Fiji logo
How does it work
The principle is very simple. One divides the template image into tiles that have the same pixel dimensions as the down-sampled database images (for instance 12 by 9 pixels as is the case in the provided image database). The program then systematically goes through the small tiles of the template image placing the database images that show best pixel wise color matching. We do this by summing the squared pixel-wise and color-wise differences between the template and all the database images and selecting the database image with the lowest sum (i.e. difference). There are other possible metrics, but this one works well for the embryo database.
The template image gets cropped to the dimensions that are compatible with the tile size (i.e. for 12x9 tiles the dimensions have to be divisible by 12 and 9 respectively). Every database image is used only once and so, as the build-up progresses, the database can get ‘exhausted’ for a particular color and shape. To minimize this effect we place the tiles randomly into the image.
The tricky part is to prepare the database. We provide a pre-computed database based on the embryo in situ data containing 12x9 pixels tiles. You can generate your own databases using the Prepare CoverMaker Database script that scours a file system and down-samples all available RGB jpegs to the desired tile dimensions.
Finally, for printing poster size images, the plugin will generate in the second step of its operation (after the output image has been formed at the original resolution of the template image) an arbitrarily large output image at desired dpi resolution using the database of original images available here or generated by you using the Prepare CoverMaker Database script.
CoverMaker Tutorial
Template image
We will start by opening an image that will serve as template. For the time being it needs to be an RGB image. It can have any dimensions, however consider that larger images will require many more tiles to fill up, it will take long and the effect will be less visible. Fiji logo shown on the right is a good start. Alternatively one of the Fiji sample images such as the clown.jpg gives good results quickly.
I would recommend having only one image opened before proceeding further.
Now we launch the CoverMaker python script by going to Plugins › Examples › CoverMaker › Cover Maker. (Or typing L and searching with keyword cover).
The initial CoverMaker dialog box

A basic dialog box will appear prompting us to select the image database by clicking on and locating in the file system the tif file containing down-sampled images. The tif file is called 12_9.tif indicating that the images have been scaled to the 12x9 pixel dimension. This is the default tile size. If you use a different database with different aspect ratio please change the default tile width and height in the dialog box.
Next click and the reconstruction will start. As a first step the template image will be cropped to the size that is multiple of the tile width and height (not shown, see Future work for comment on the cropping issue.
Below we monitor the progress of building the cover
Starting

Progress 1

Progress 2

Almost there

Finished Cover

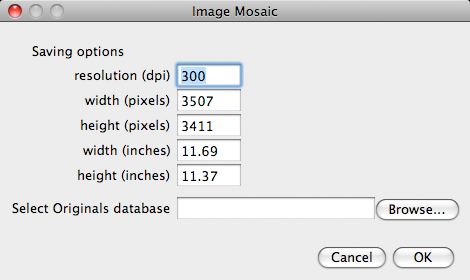
The second CoverMaker dialog box for saving high resolution output
After the reconstruction finishes a second dialog box pops up. Here we have an option to the program, the finished low resolution image will remain opened and can be saved using normal Fiji procedures.
If we like the result of the experiment, we can save it at high resolution using the original images. We can decide on the final resolution of the output image in dpi, specify the width or height in pixels or inches. The fields are linked and should update while we are editing the different parameters.
Next we need to click on and locate the zip file containing the originals. Finally we click on and the building of the final high resolution output image will commence as shown below. Note that now the image grows sequentially since we already know where to place the images from the initial run and the randomization is no longer necessary.
Starting

Progress 1

Progress 2

Almost there

Finished Cover

When we zoom in on the final output image that was generated in this case at 300dpi and compare with the initial reconstructed image we will see the database images with much greater detail. The image can be made almost arbitrarily large and printed as a large poster.
The downsampler we use does not do a good job upsampling, thus when the originals are too small for a given dpi size combination artifacts in the output image will occur (grid of lines). This exception is currently not handled properly.
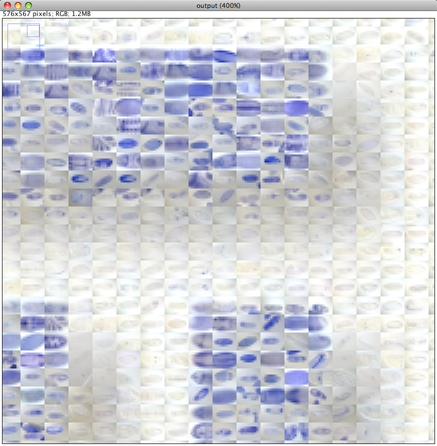
Close up on the Initial low resolution image
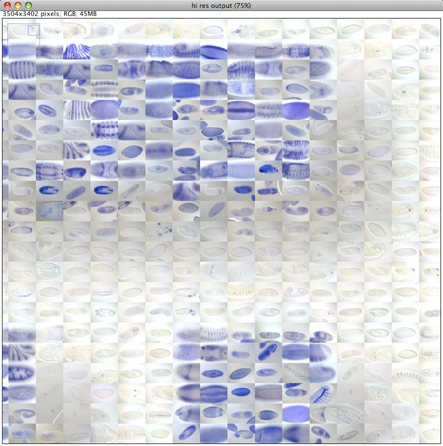
Close up on the final high resolution image
Prepare CoverMaker Database
In many ways preparing the image databases is a trickier business than actually performing the reconstruction. The aim of the Prepare_CoverMaker_Database.py script (Plugins › Examples › Cover Maker › Prepare Cover Maker Database) is to explore your local filesystem for RGB images that could be used to build a database. As many things can go wrong in the process, it should be considered experimental.
Input/Search/Output
Before we start searching for images we must decide on the dominant aspect ratio present in our image set. Obviously, since the tiles have all the same dimensions, different aspect ratios of input images would cause deformation during down-sampling to that common tile dimension. Fortunately, since CoverMaker is targeting scientific imaging, in most cases a large image database will have a uniform or one dominant aspect ratio.
Input and output parameters dialog

The user must also specify the aspect ratio and base directory under which the images are to be found.
The output parameters are the minimum and maximum tile width and height of the downsampled tiles. These should be compatible with the aspect ratio (for convenience the width and height are linked in the Dialog box). Users can specify a range of tile dimensions (by specifying minimum and maximum widths and heights) and the script will generate scalings between those bound in increments of one pixel. Note that the range should not be very broad (typically between 10 and 20 pixels). When the minimum and maximum are the same only single tile size will be generated.
Finally the user must specify the originals width and height to which the images should be scaled. If these dimensions are the same as the dominant image dimensions on the filesystem, no scaling will occur, however this will duplicate every image encountered during the search. The resulting zip archive could become too large. Note that the images need not be very large as they will be scaled down again when CoverMaker outputs the final image at reasonable resolution.
Progress log

The script will then recursively traverse the directory tree under this root looking for images with extensions jpeg, jpe and jpg. The extensions to be searched are currently hardcoded. During the search the script will write into ImageJ log the images it encountered and what is being done with them. Hopefully most images will have the matching aspect ratio specified above and will be scaled. Images with different aspect ratios will be skipped.
The output of the script are two types of files:
- tif stacks containing downsampled image tiles of the specified dimensions (the naming convention is
width_height.tif, i.e. for 12x9 pixel tiles12_9.tif). Separate tif file for each output tile size will be generated - one zip archive of the original images scaled to the size specified in the parameters original width and original height (note that this file should NOT be unzipped)
Both output files are saved in the base directory. They can be directly used in the CoverMaker plugin.
Potential problems
Sometimes an image with jpeg like extension is not in fact an jpeg. The script currently checks if the image has three channels and skips the image if this is not the case. However, in my experience, a lot of unexpected things can happen when exploring large filesystems with diverse imagery. Finally, as the searching of a large filesystem can take some time, random errors, corrupted images or insufficient memory can cause the script to crash.
Catching these errors is the challenge for future improvements of the script.
Databases
Currently we provide a single database of images prepared for CoverMaker. The database contains 81,751 images of Drosophila melanogaster embryos stained by RNA in situ hybridization with probes for about 6000 genes. The images have been scaled to the size of 12x9 pixels resulting in a tif stack that can serve as input for the CoverMaker plugin. Additionally, in order to save the high resolution images you will need the matching zip archive of original images.
| Database type | scaled tiles | originals (DO NOT unzip) |
| Drosophila Embryo in situ | 12_9.tif (16.6MB) | originals.zip (1.45GB) |
Do not unzip the originals.zip archive. The CoverMaker is able to extract the relevant images.
More scientific databases to come…. Feel free to send me yours.
Implementation and Acknowledgements
The plugin was written as a Jython script during the Madison ImageJ2/Fiji hackathon in January 2011. The heavy lifting is performed using in lined Java code snippet courtesy of Albert Cardona. All the large scale downsampling is done using Stephan Saalfeld proper downsampler. Johannes Schindelin has helped a lot with the Dialog Listeners and will maintain the plugin for posterity.
BTW, this plugin and its genesis is a great example of the power of Fiji and the hackathons. I came to the hackathon not knowing anything about python and with only basic knowledge of Java and the ImageJ codebase. In ten days I had the plugin written, probably driving the Fiji geeks crazy with my constant basic (or downright stupid) questions. But the take home message for biologists is: it can be done!
Future work
There is clearly room for improvement. Here is what comes to my mind, but feel free to suggest more features or, even better, go ahead and implement them.
- implement, test and evaluate more color metrics
- research optimization strategies for the placement of the tiles
- avoid the need to crop the template by employing a proper out of bounds strategy
- implement different tile geometries (like for instance hexagons)
- port it all into Java and particularly ImgLib2 for better performance (hopefully)