This is an archive of the old MediaWiki-based ImageJ wiki. The current website can be found at imagej.net.
Stitching data acquisition
Contents
Wiscan Data Acquisition
- Make sure the image being used has been set up correctly:
- On the computer, click and hold the shutter button until it turns yellow. The shutter is now activated
- Ensure the the outer shutter lever is pointing towards "Lamp" and the inner shutter lever is pointing to the right
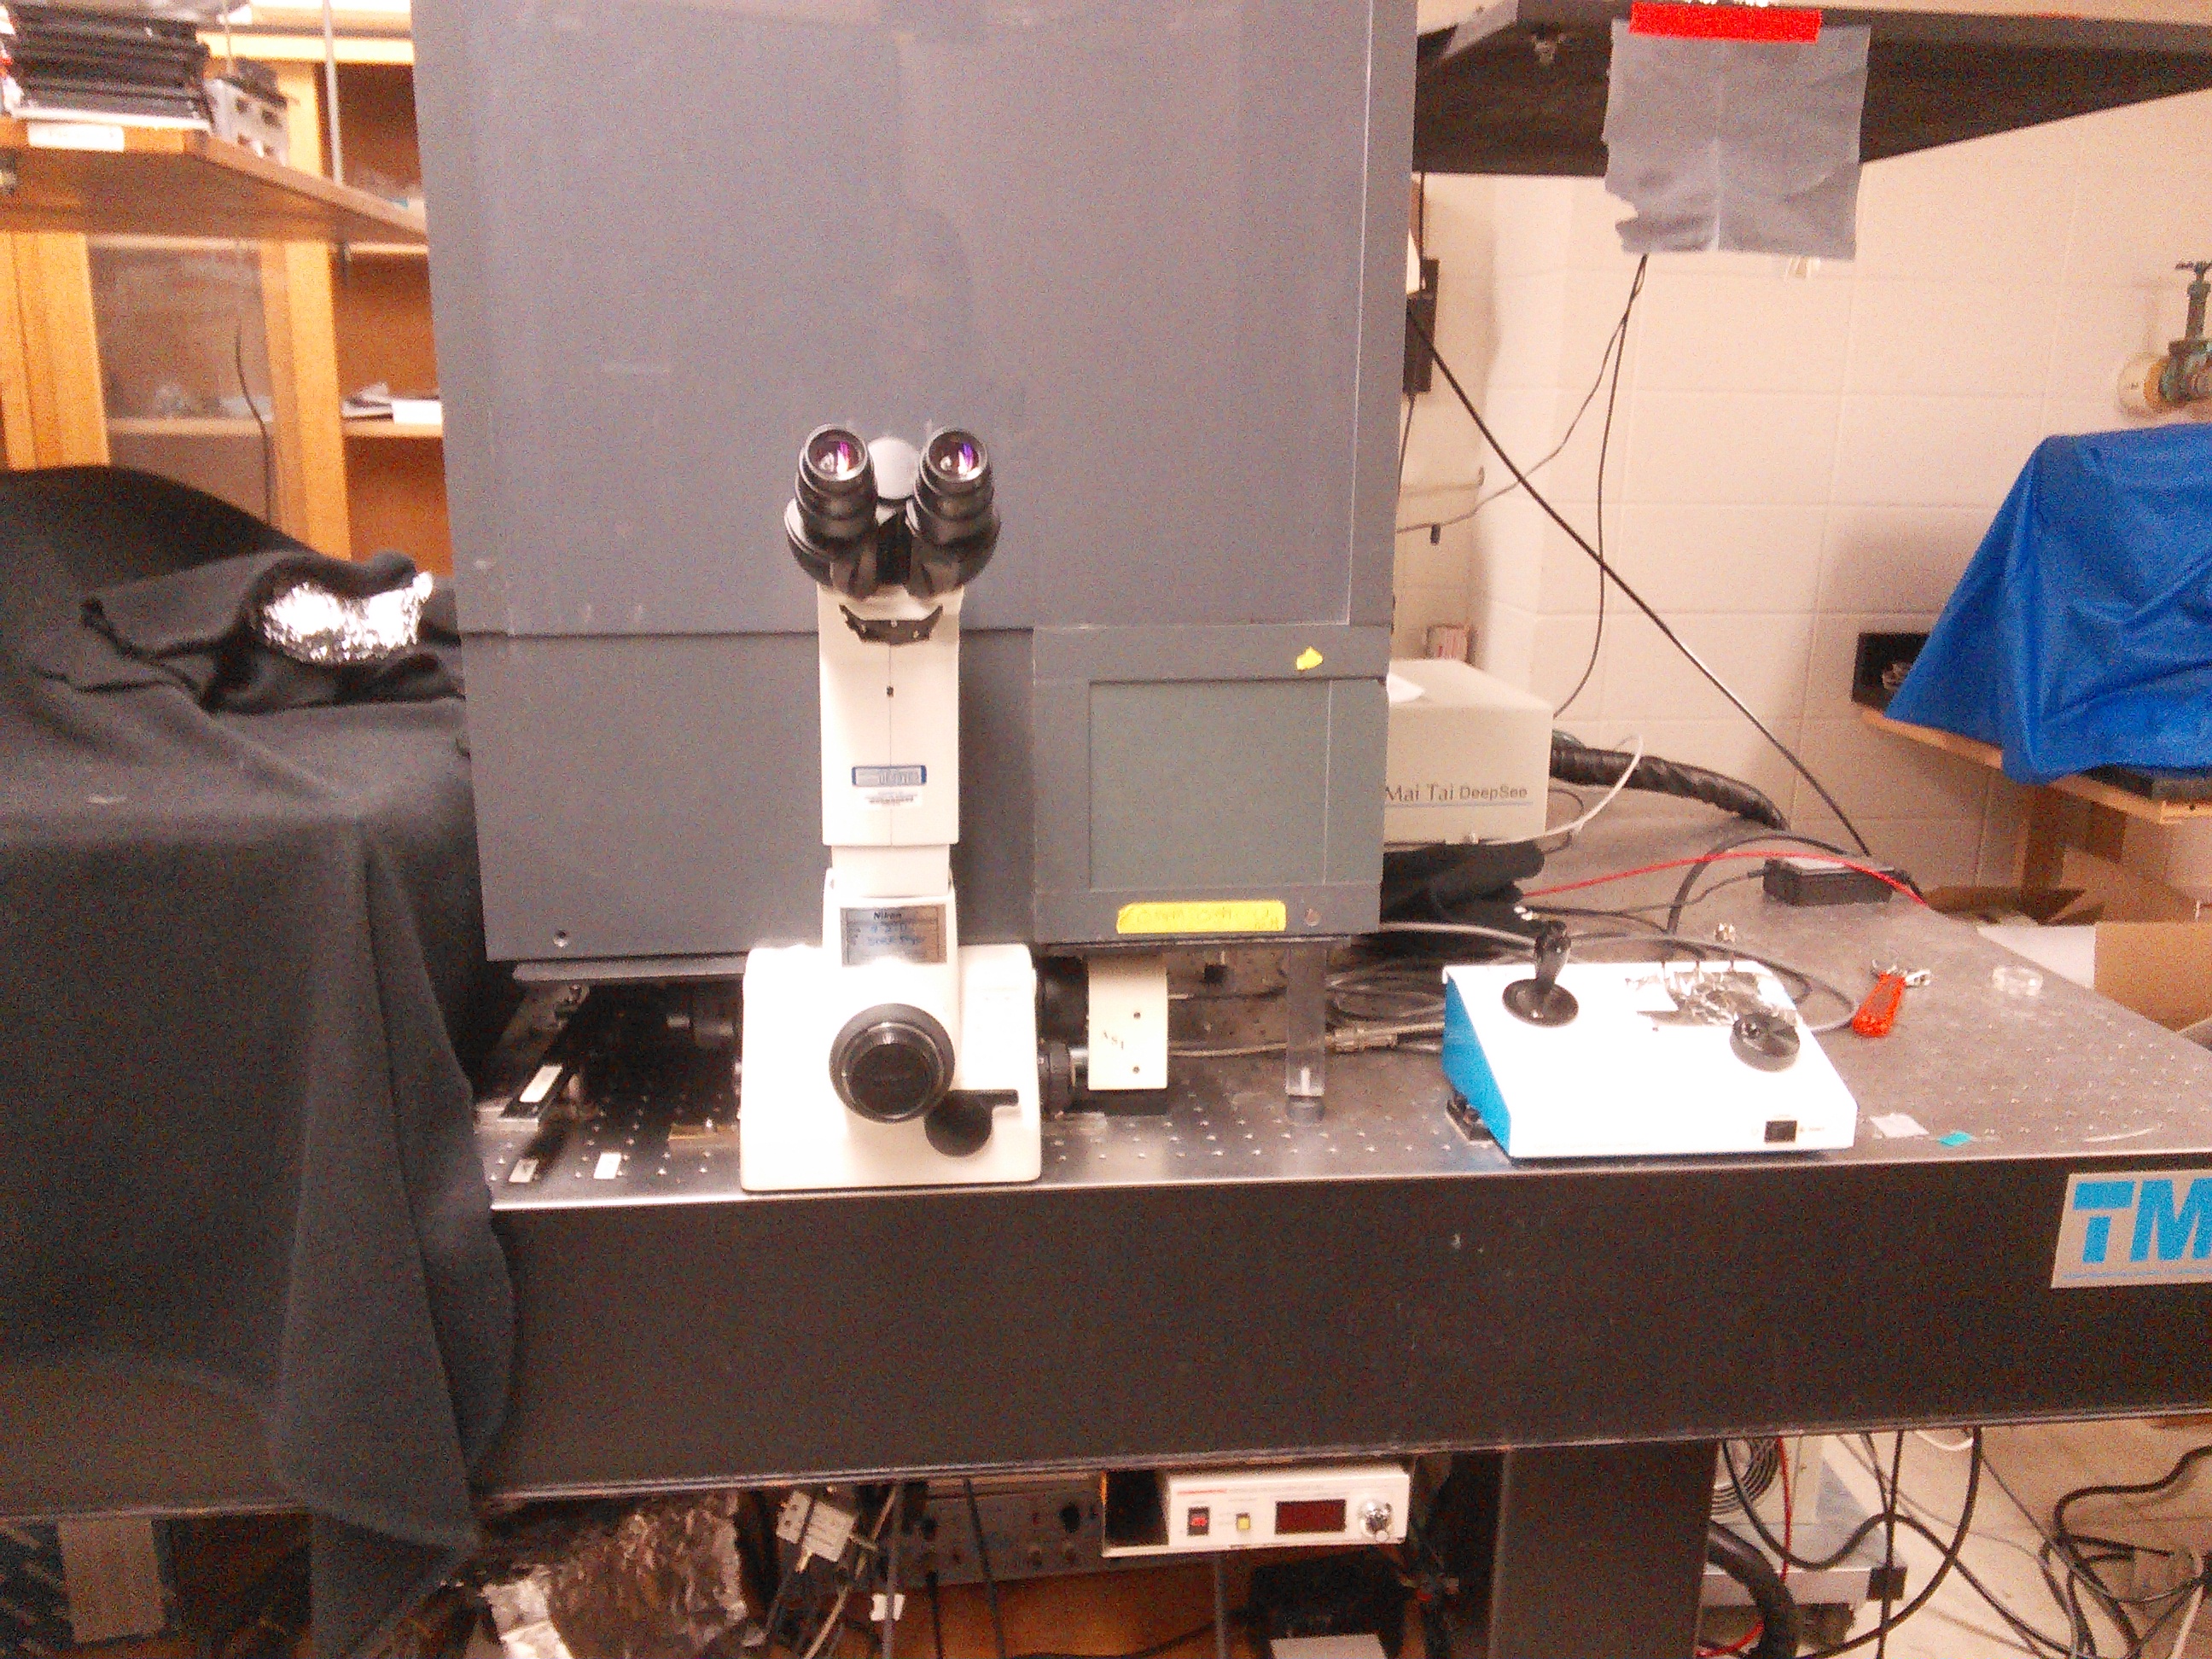
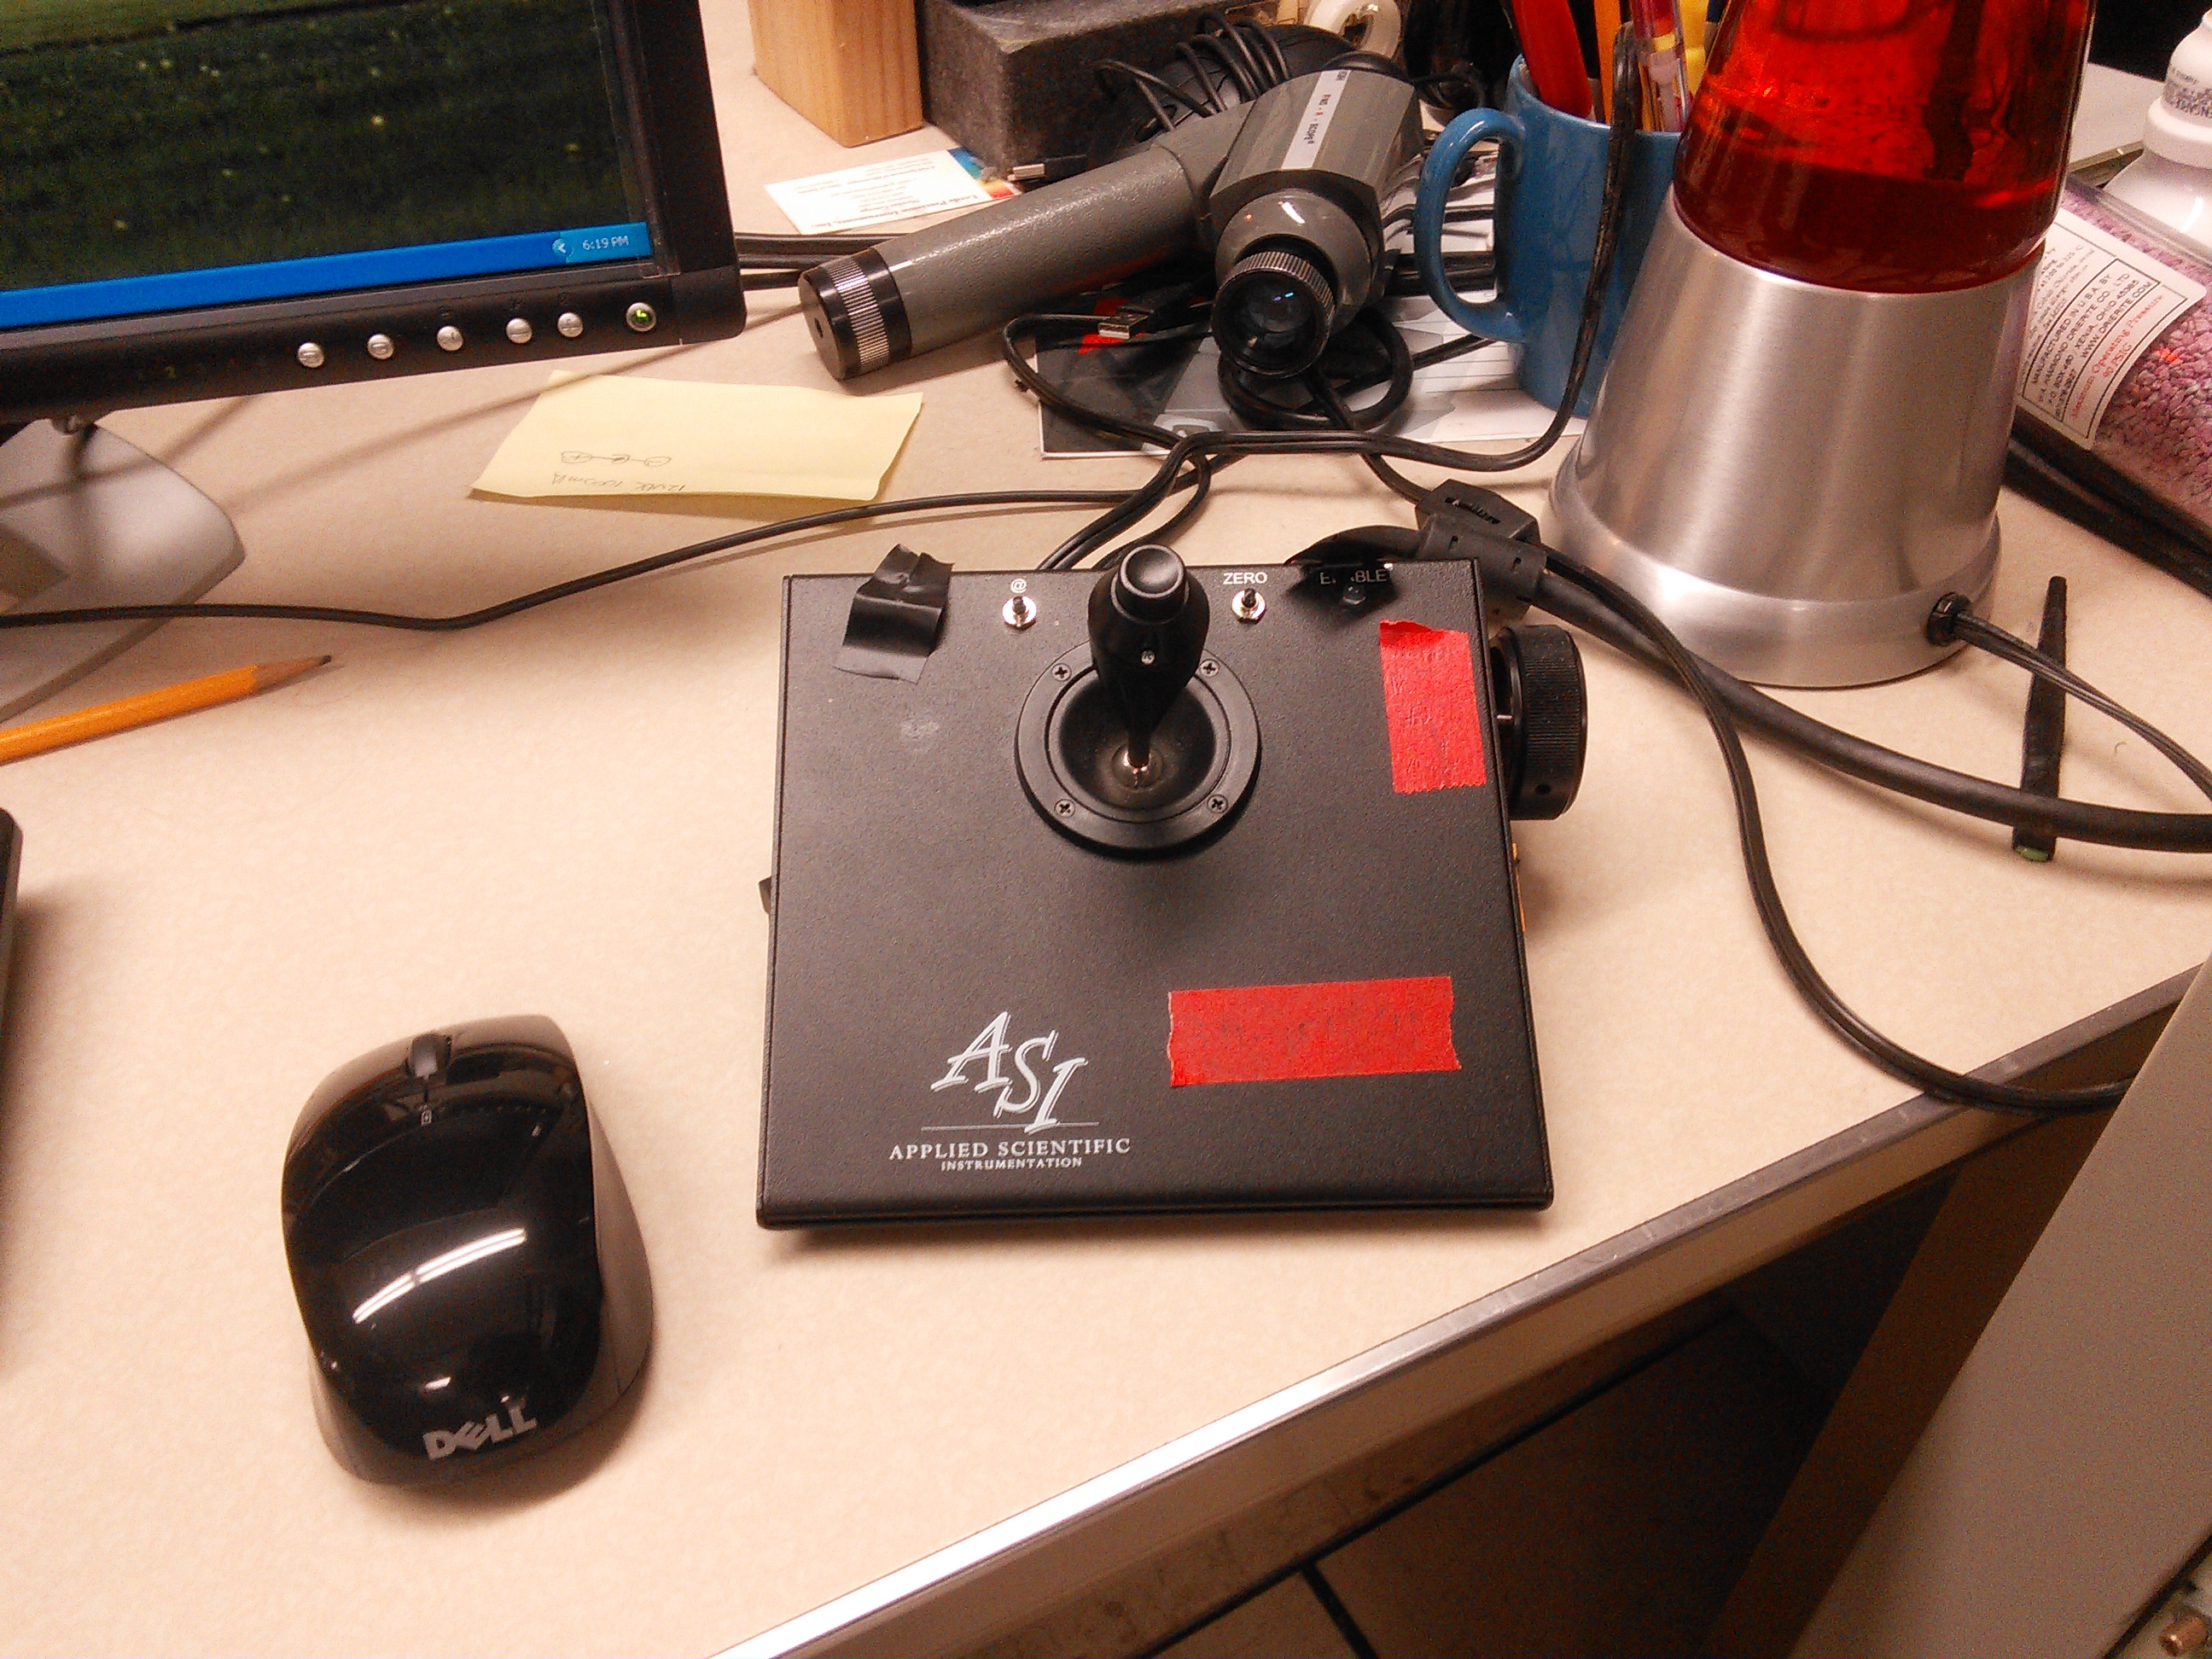
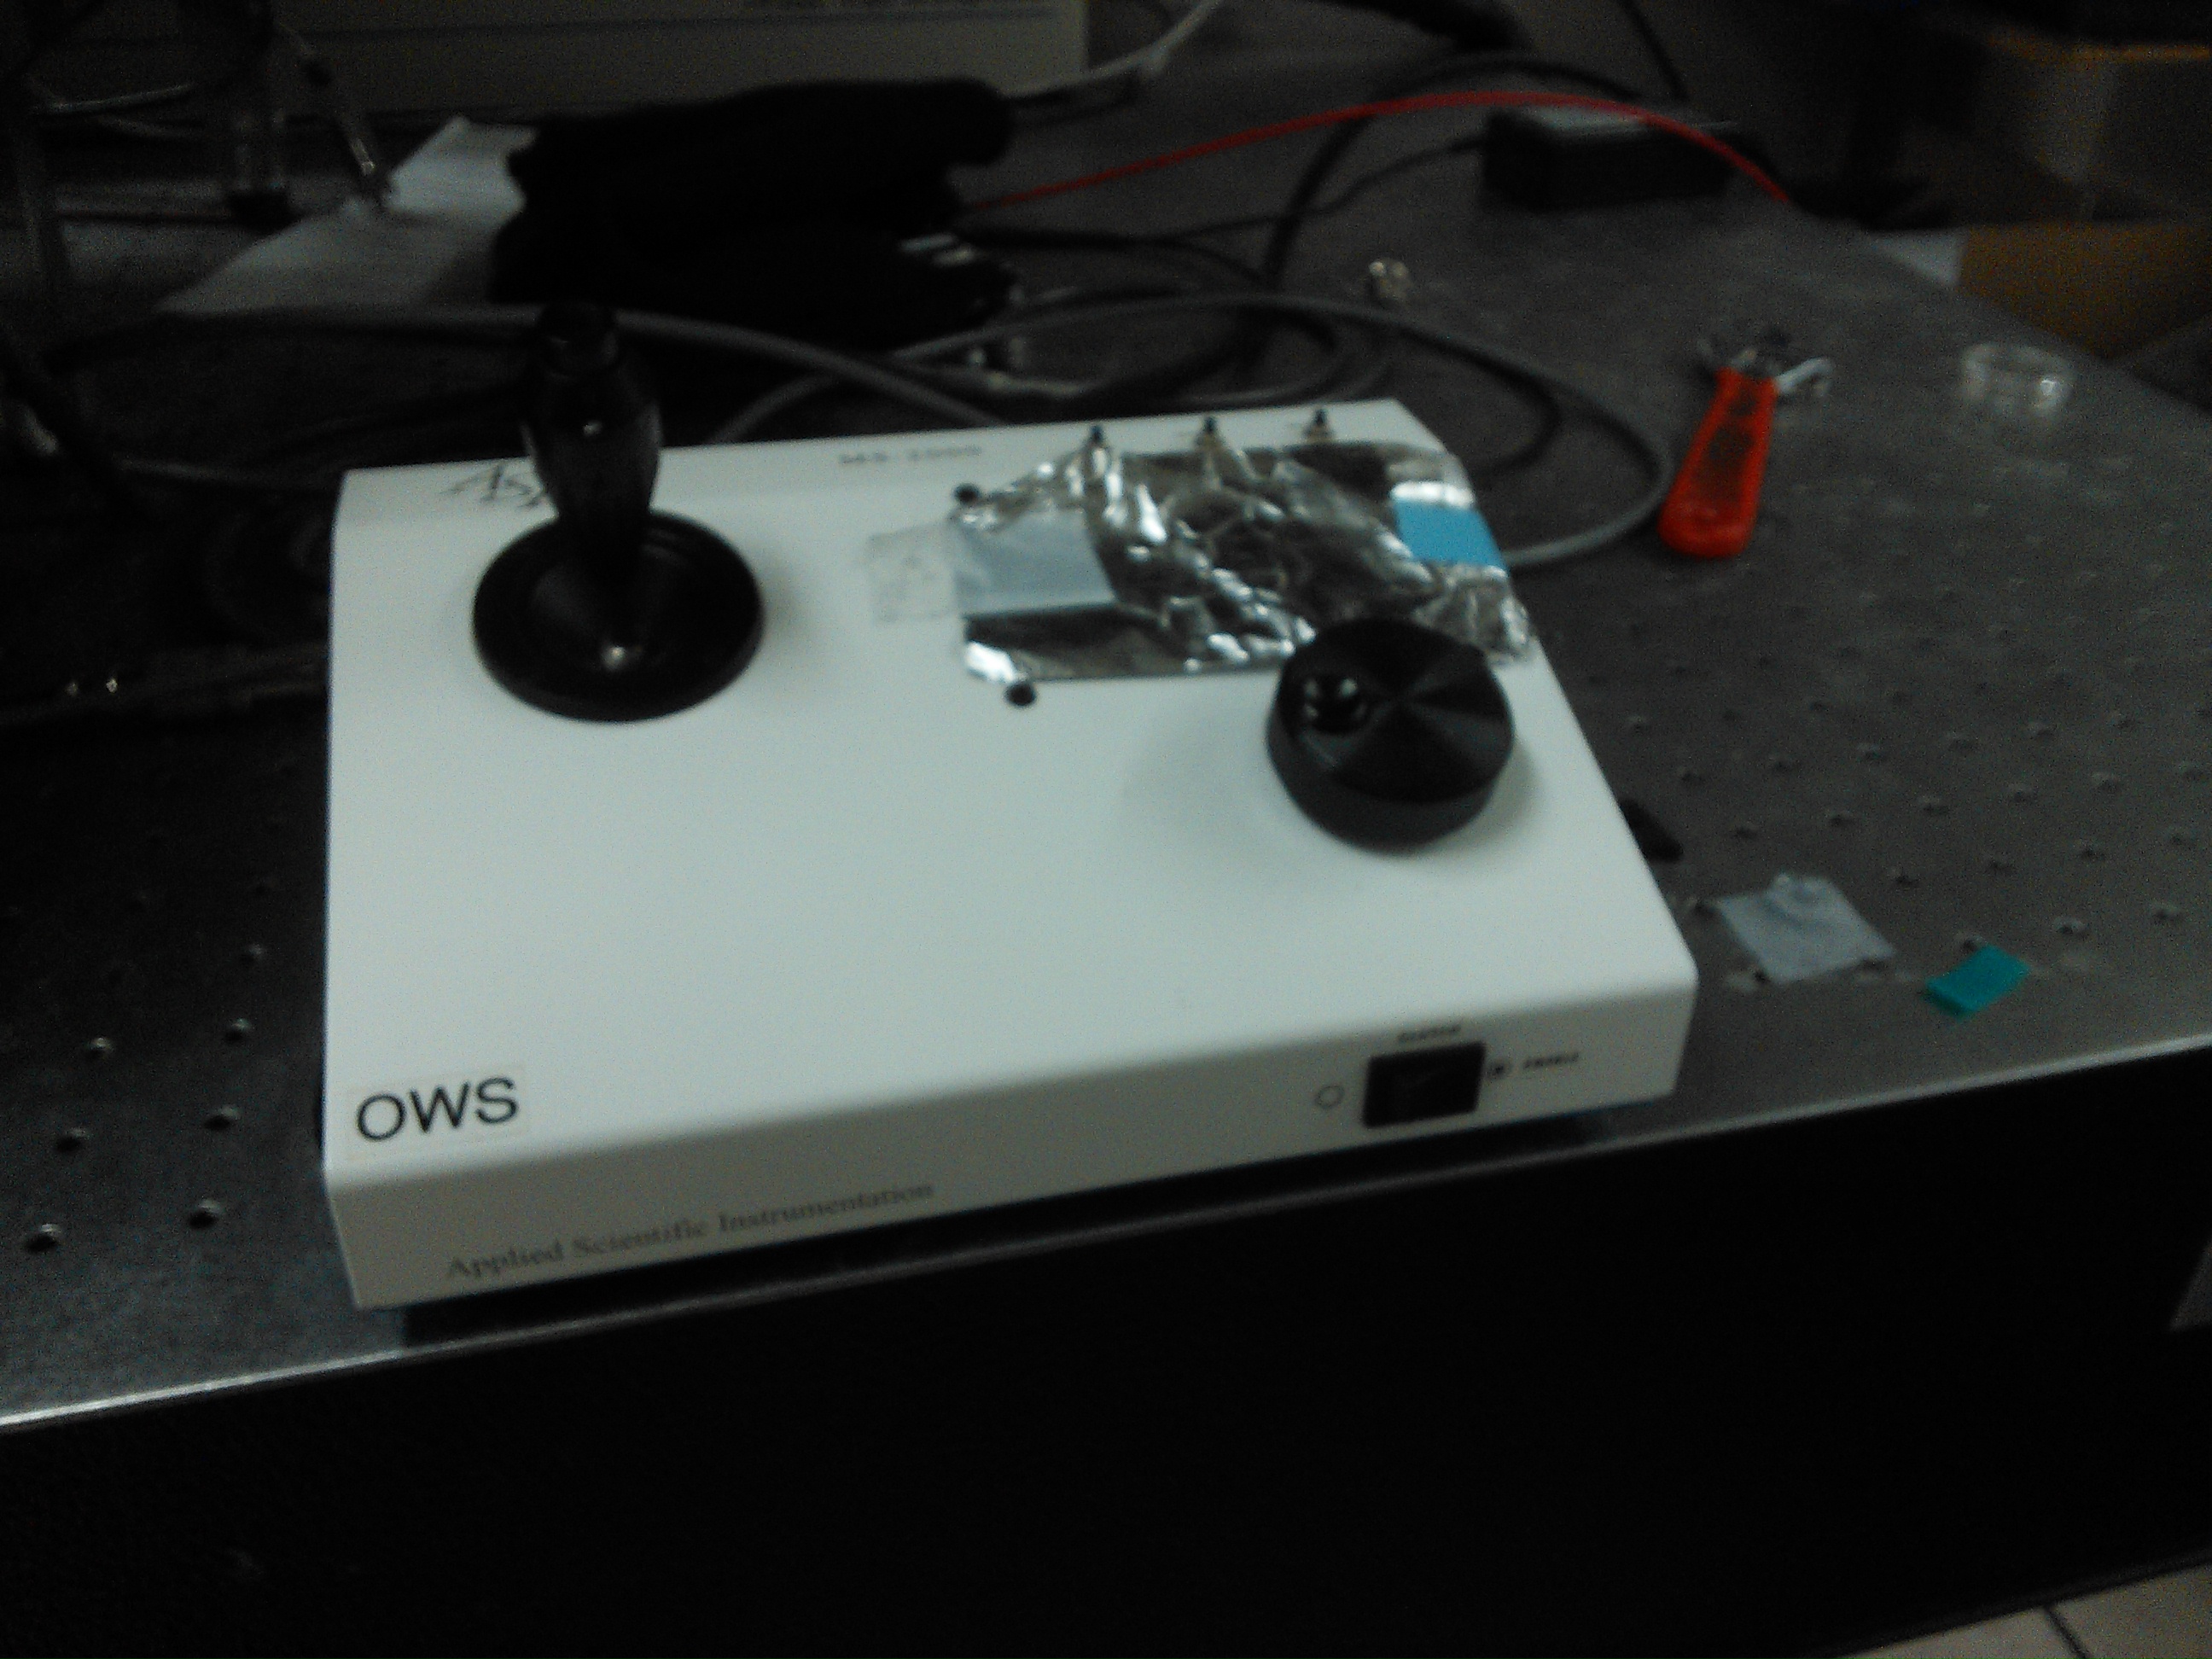
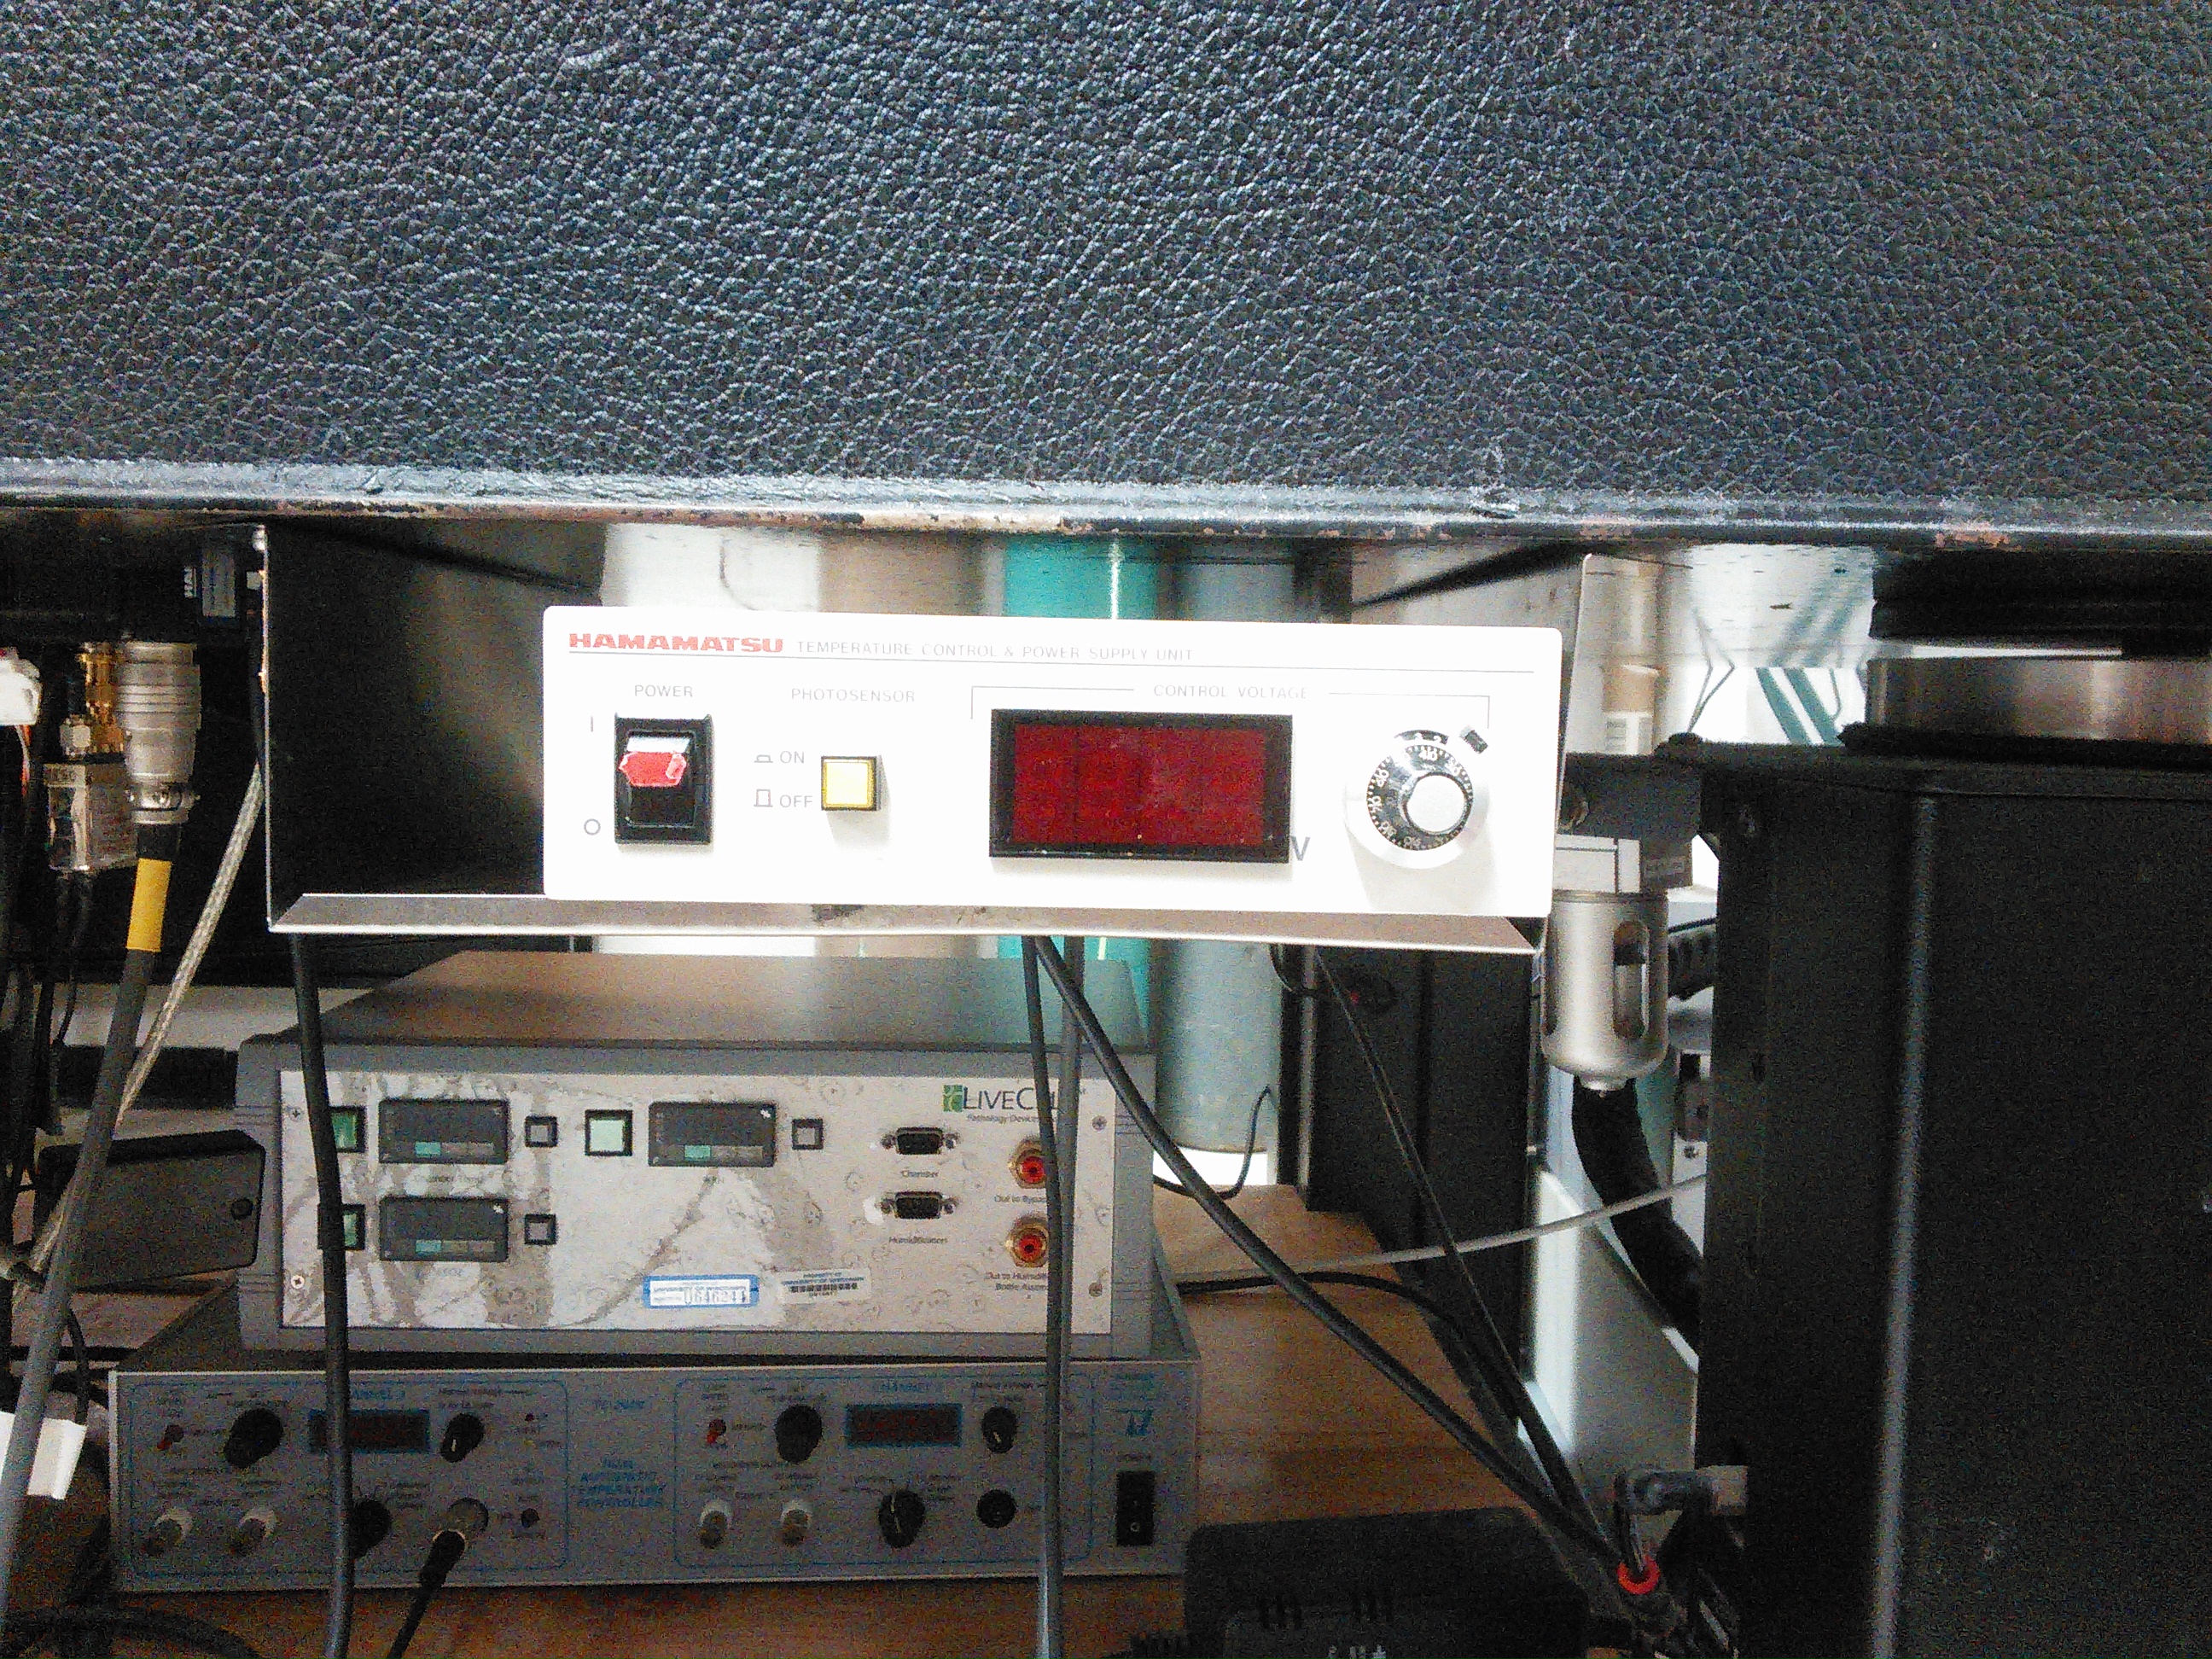
- Turn on the xyz controller
- NOTE: Do not attempt to adjust the focus of the image with the manual knob while the controller is engaged. You will wear down the gears.
- Move the outer shutter lever toward "Image" and the inner shutter lever toward
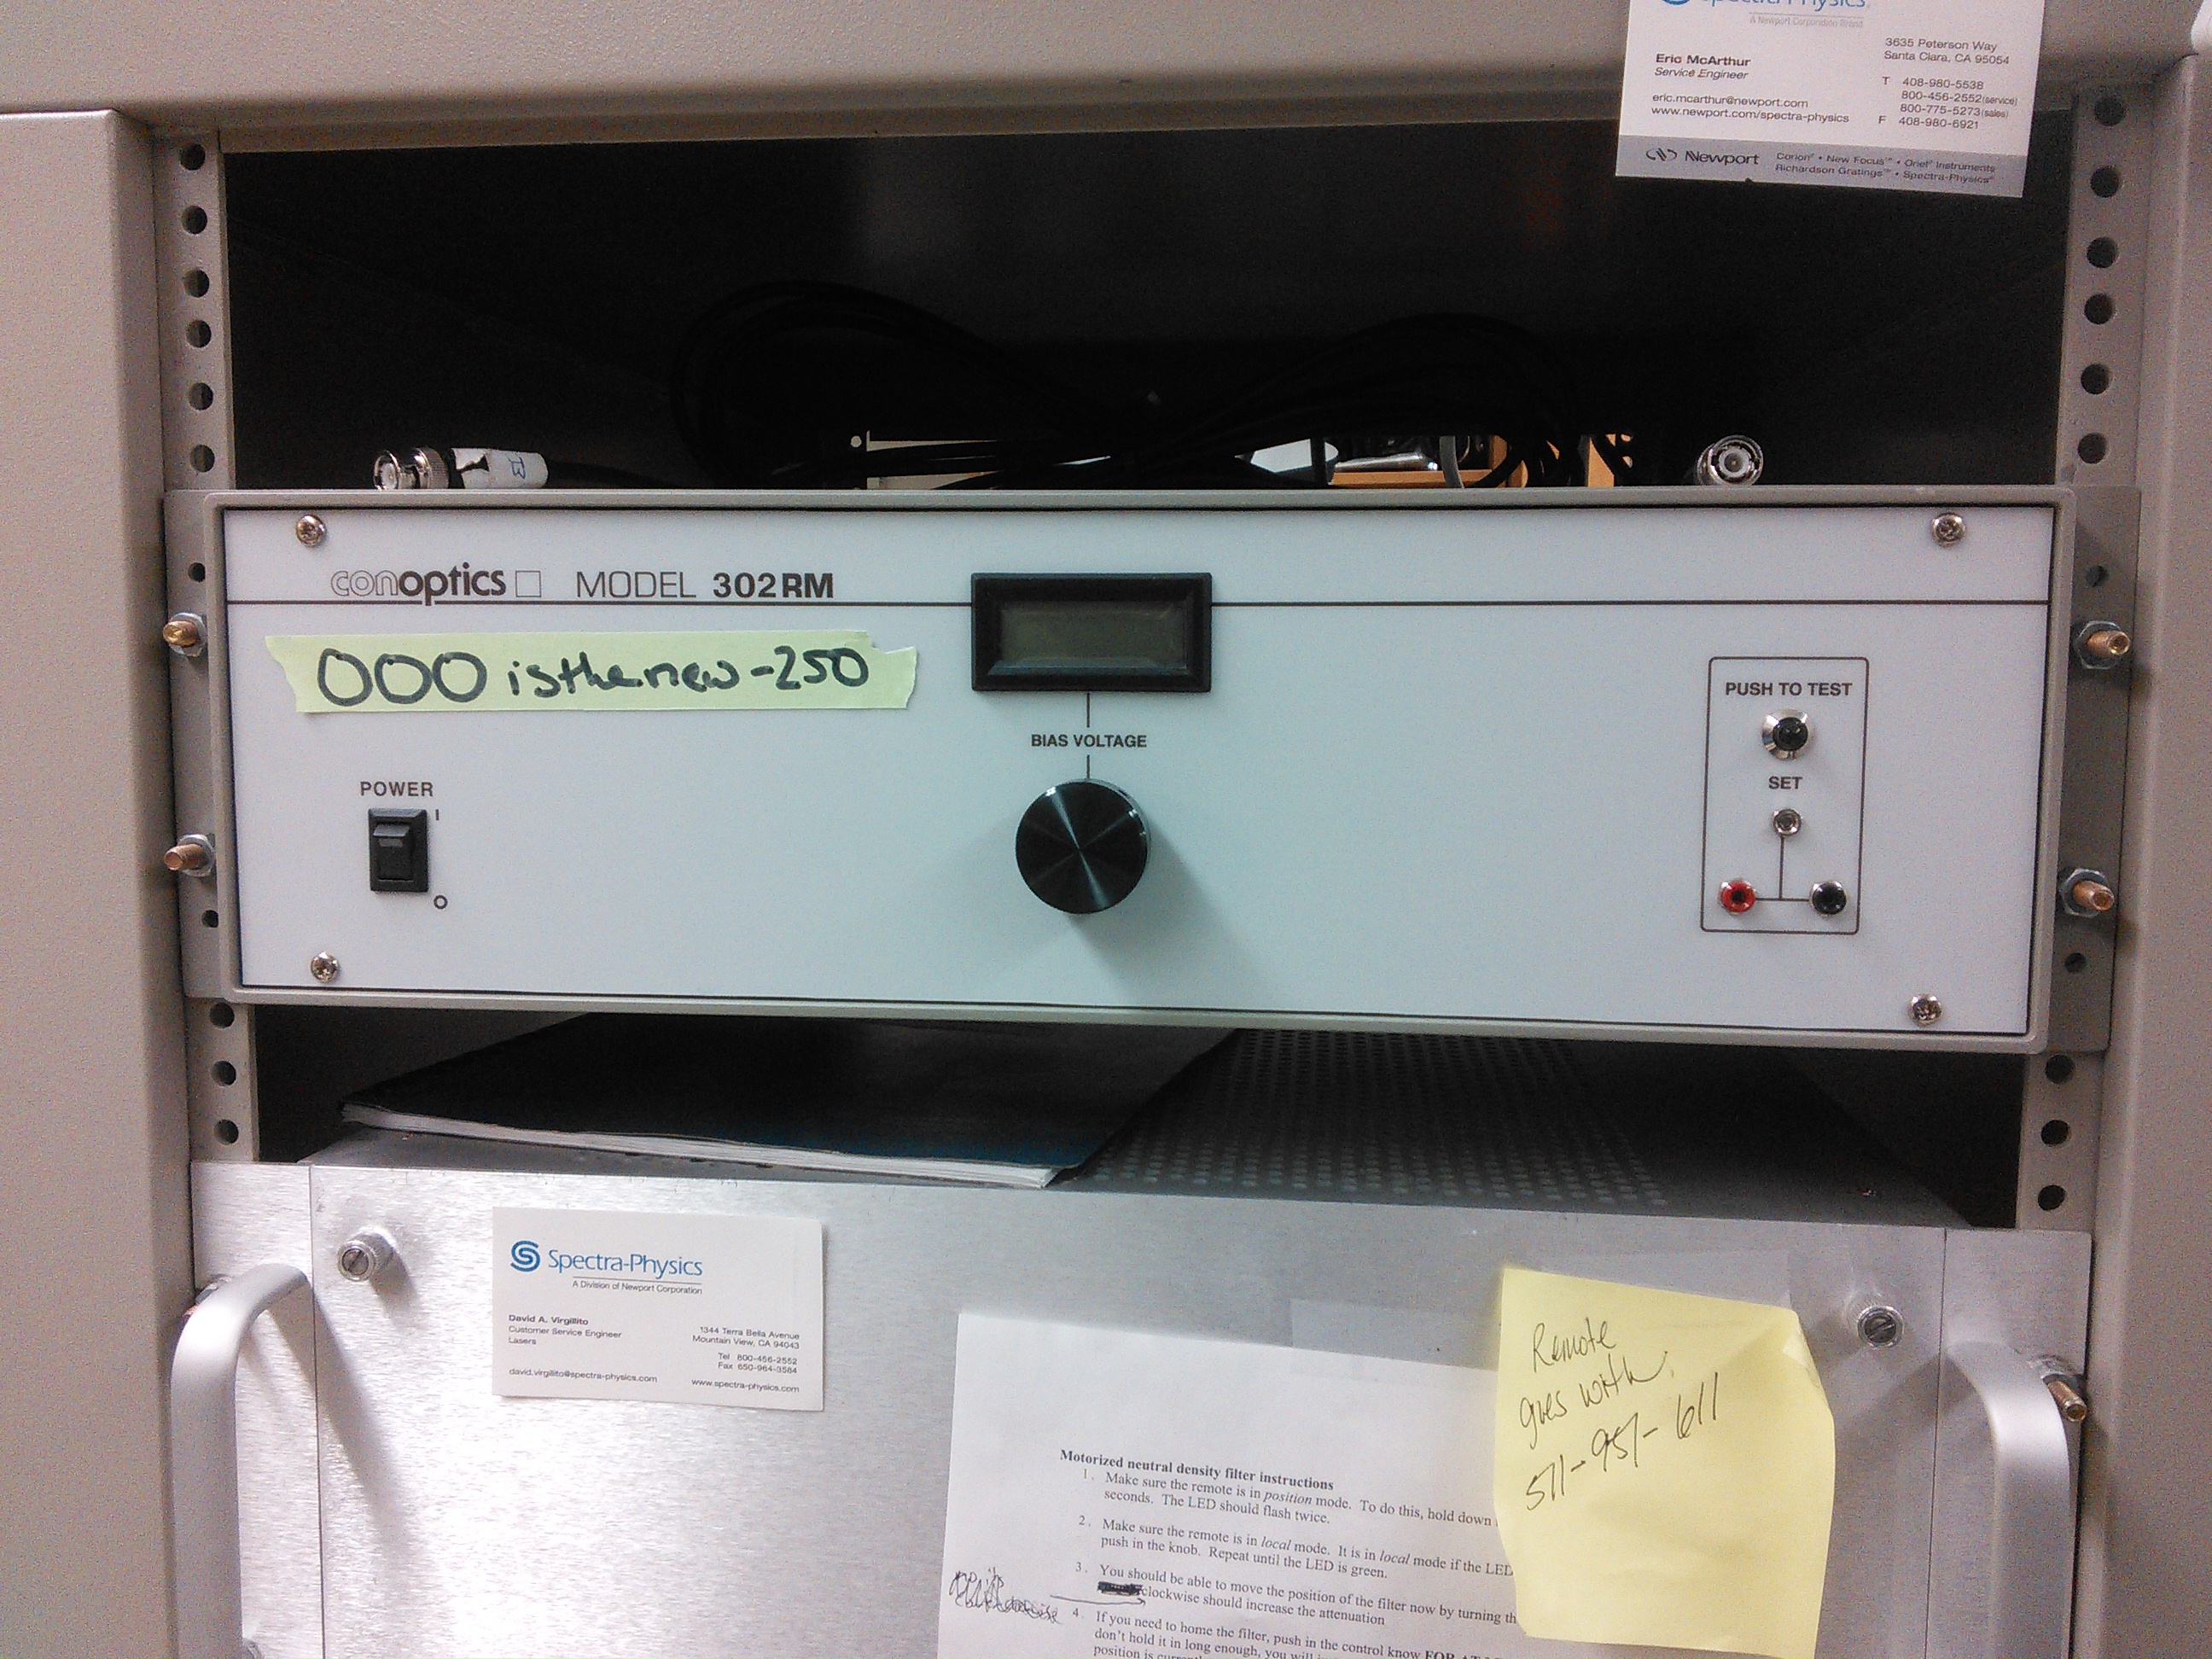
- Turn on the Pockel Power Cell
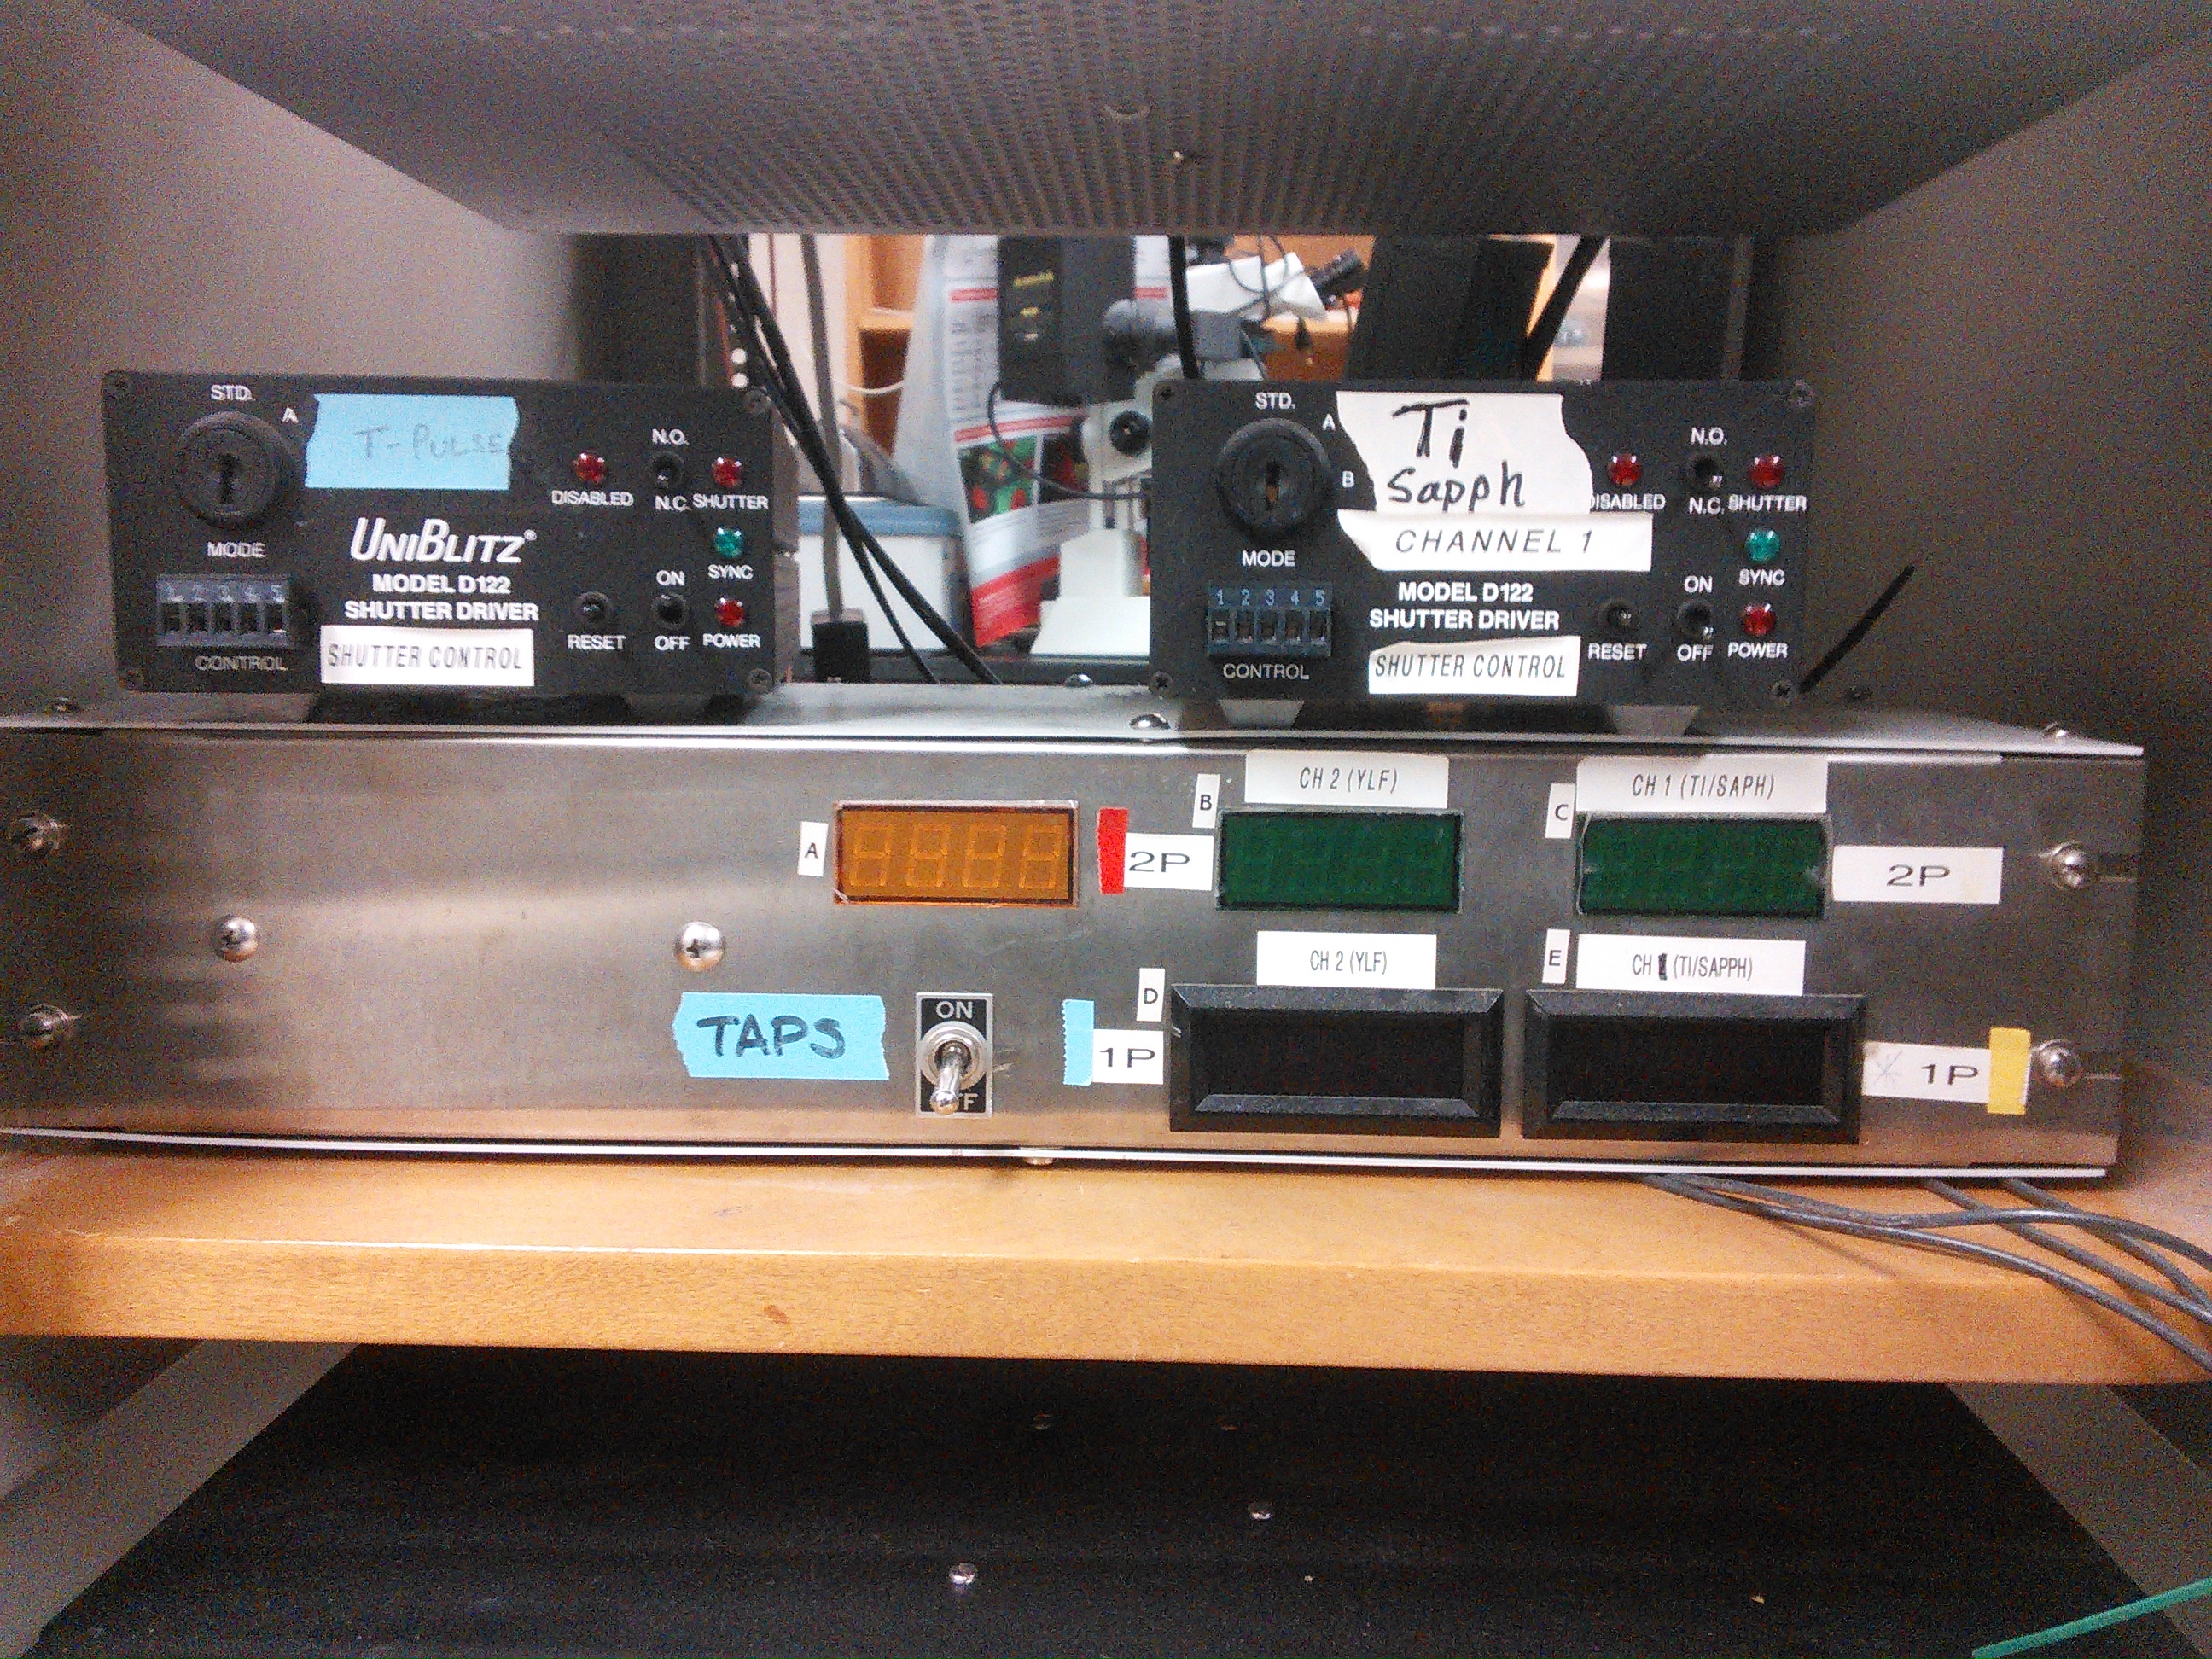
- Turn on the Ti Sapph Shutter Controller
- Log in to Wiscan
- Turn on the detector
- Note: DO NOT turn on the detector till the main lights are off. You WILL damage the detector.
- Start Scan and ensure your image is in focus on the left side of your screen<\li>
- Use the computer xyz controller to choose your initial image frame
- Adjust the pockle cell dials until you can see an image on the right side of your screen (the blue portion)
- Adjust the detector so that only a small amount of red can be seen in the frame of your image. If too much of a contrast is present, it will burn out the microscope's laser
- Note: The normal range for the detector is 300-500. You should not go above 620.
- Stop scan
- Define the start position in your metadata by selecting "manual update" then "set 0"
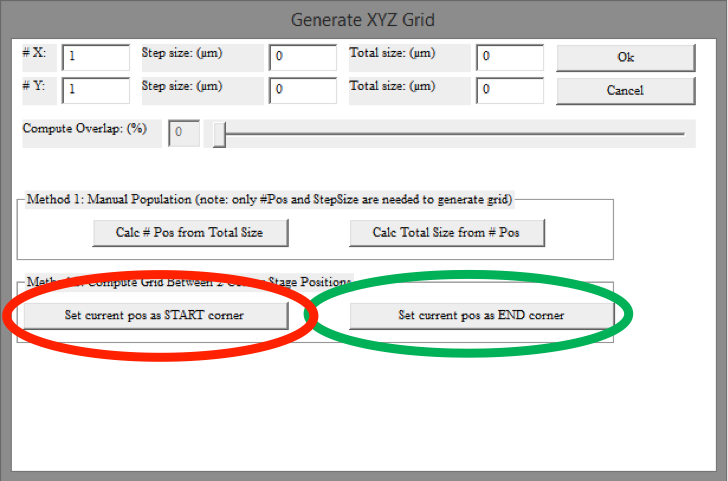
- Generate the specifics of your image acquisition using generate grid
- Set the size of each image taken (in microns)
- Set the amount of overlap you wish to have in your image, then press "calculate number of positions"
- NOTE- You can also set your own step size and overlap amount and calculate the size of each image
- Once you have calculated all the necessary positions, you can save this data using the "save positions" button and load them back into Wiscan at a later date
- Select Z motor
- under 4d imaging, calculate Z bottom, Z top, and Z step
- These numbers should be set as 0 unless you are imaging in more than one plane of your sample
- Select "Use XY coordinates" and then start sequence
- Once Wiscan has run, your output will be a series of images that can be stitched together.
- NOTE- If an noticeable amount of overlay can be seen in your images, there is a pixel to micron error within the microscope's initial setup. To fix this, recalibrate the microscope's objectives.
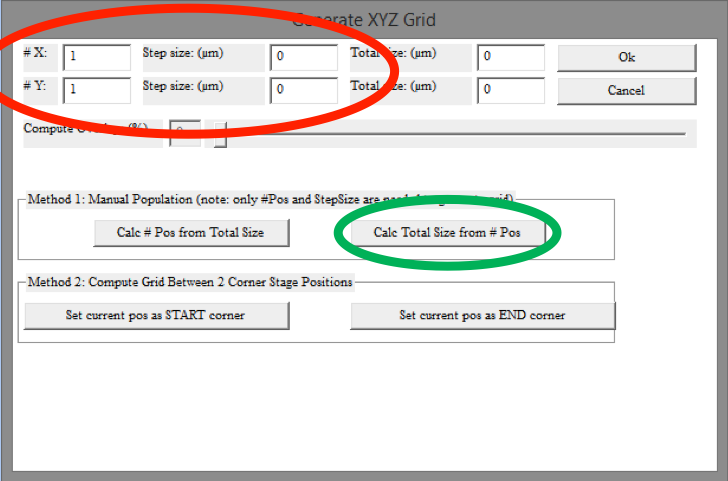
- Fill in the Dimensions of X and Y in #X and #Y respectively
- Enter the step size in microns
- Select "Calculate total size from # Pos" to find the total size of your stitched image (optional)
- Select "OK"
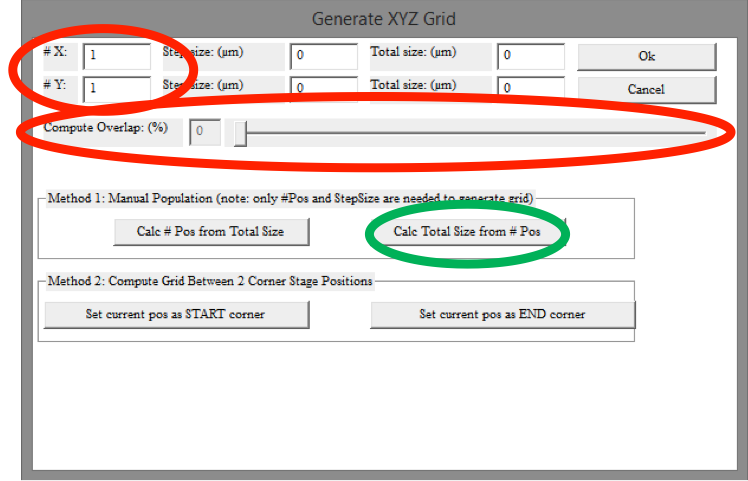
- Use the "Compute overlap slider" to set the overlap percentage you would like within your stitched image
- Enter your dimensions for X and Y <\li>
- Select "Calculate total size from # Pos" to find the total size of your stitched image (optional)
- Select "OK"
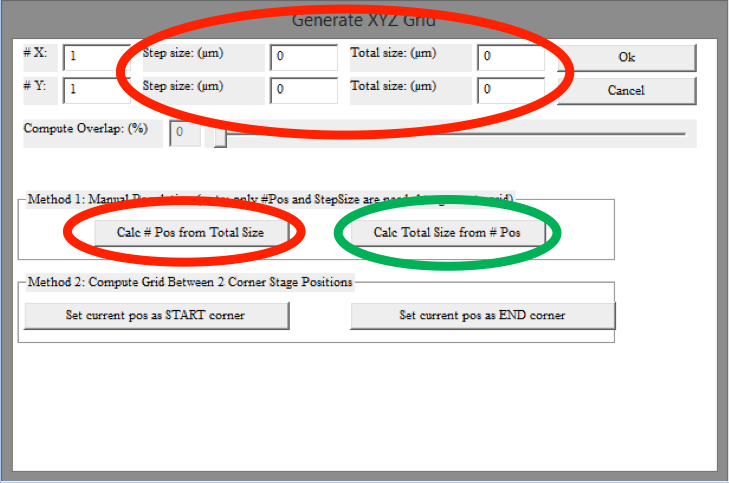
- Enter the total size dimensions of your stitched image in microns into the "Total Size" boxes
- Enter the step size or the overlap for you stitched images and select "Calculate total size from # Pos"
- Select "OK"
- Determine your step size using either a pre-calculated value or the overlap slider
- During your scan, use the XY motor controller to position on corner of your tissue into the field of view
- Select "Set current pos at START corner"
- Select "OK"
