Pub Montage
Contents
Overview
This is a montaging plugin designed with figure submission to peer review journals in mind, however its versatility lends it to different applications. Peer review journals sometimes ask that your submitted figures uphold a certain ppi (pixels per inch), and to ensure that, you need to know the width of your image in both pixels and inches. Often collected images in a TEM or SEM do not save distance units in the metadata, and if they do the units are usually in nanometers or microns. This makes it hard to ensure your figures have the required ppi.
Since imageJ can set the image scale to any unit you want, this plugin sets it to a distance in inches designated by the user. It can also scale the resolution of your images. Together these two properties determine the images ppi. It can also arrange multiple images into a single image montage, which is a nice way of showing different TEM and SEM images. It works with any file type that imageJ can read, and you can build pretty much any arrangement you want. In order to achieve a specific ppi, however, you must choose to save the montage as a file type that saves distance units in the metadata. Tagged image file format (.tiff) is a good choice.
Gallery
Directions
There are two objects upon which this plugin can operate:
- A collection of open images.
- An image stack.
If you have a bunch of images open in imageJ, the plugin starts by converting those images into a stack. So basically, it needs a stack to create the montage. If you don't have one it will created one for you.
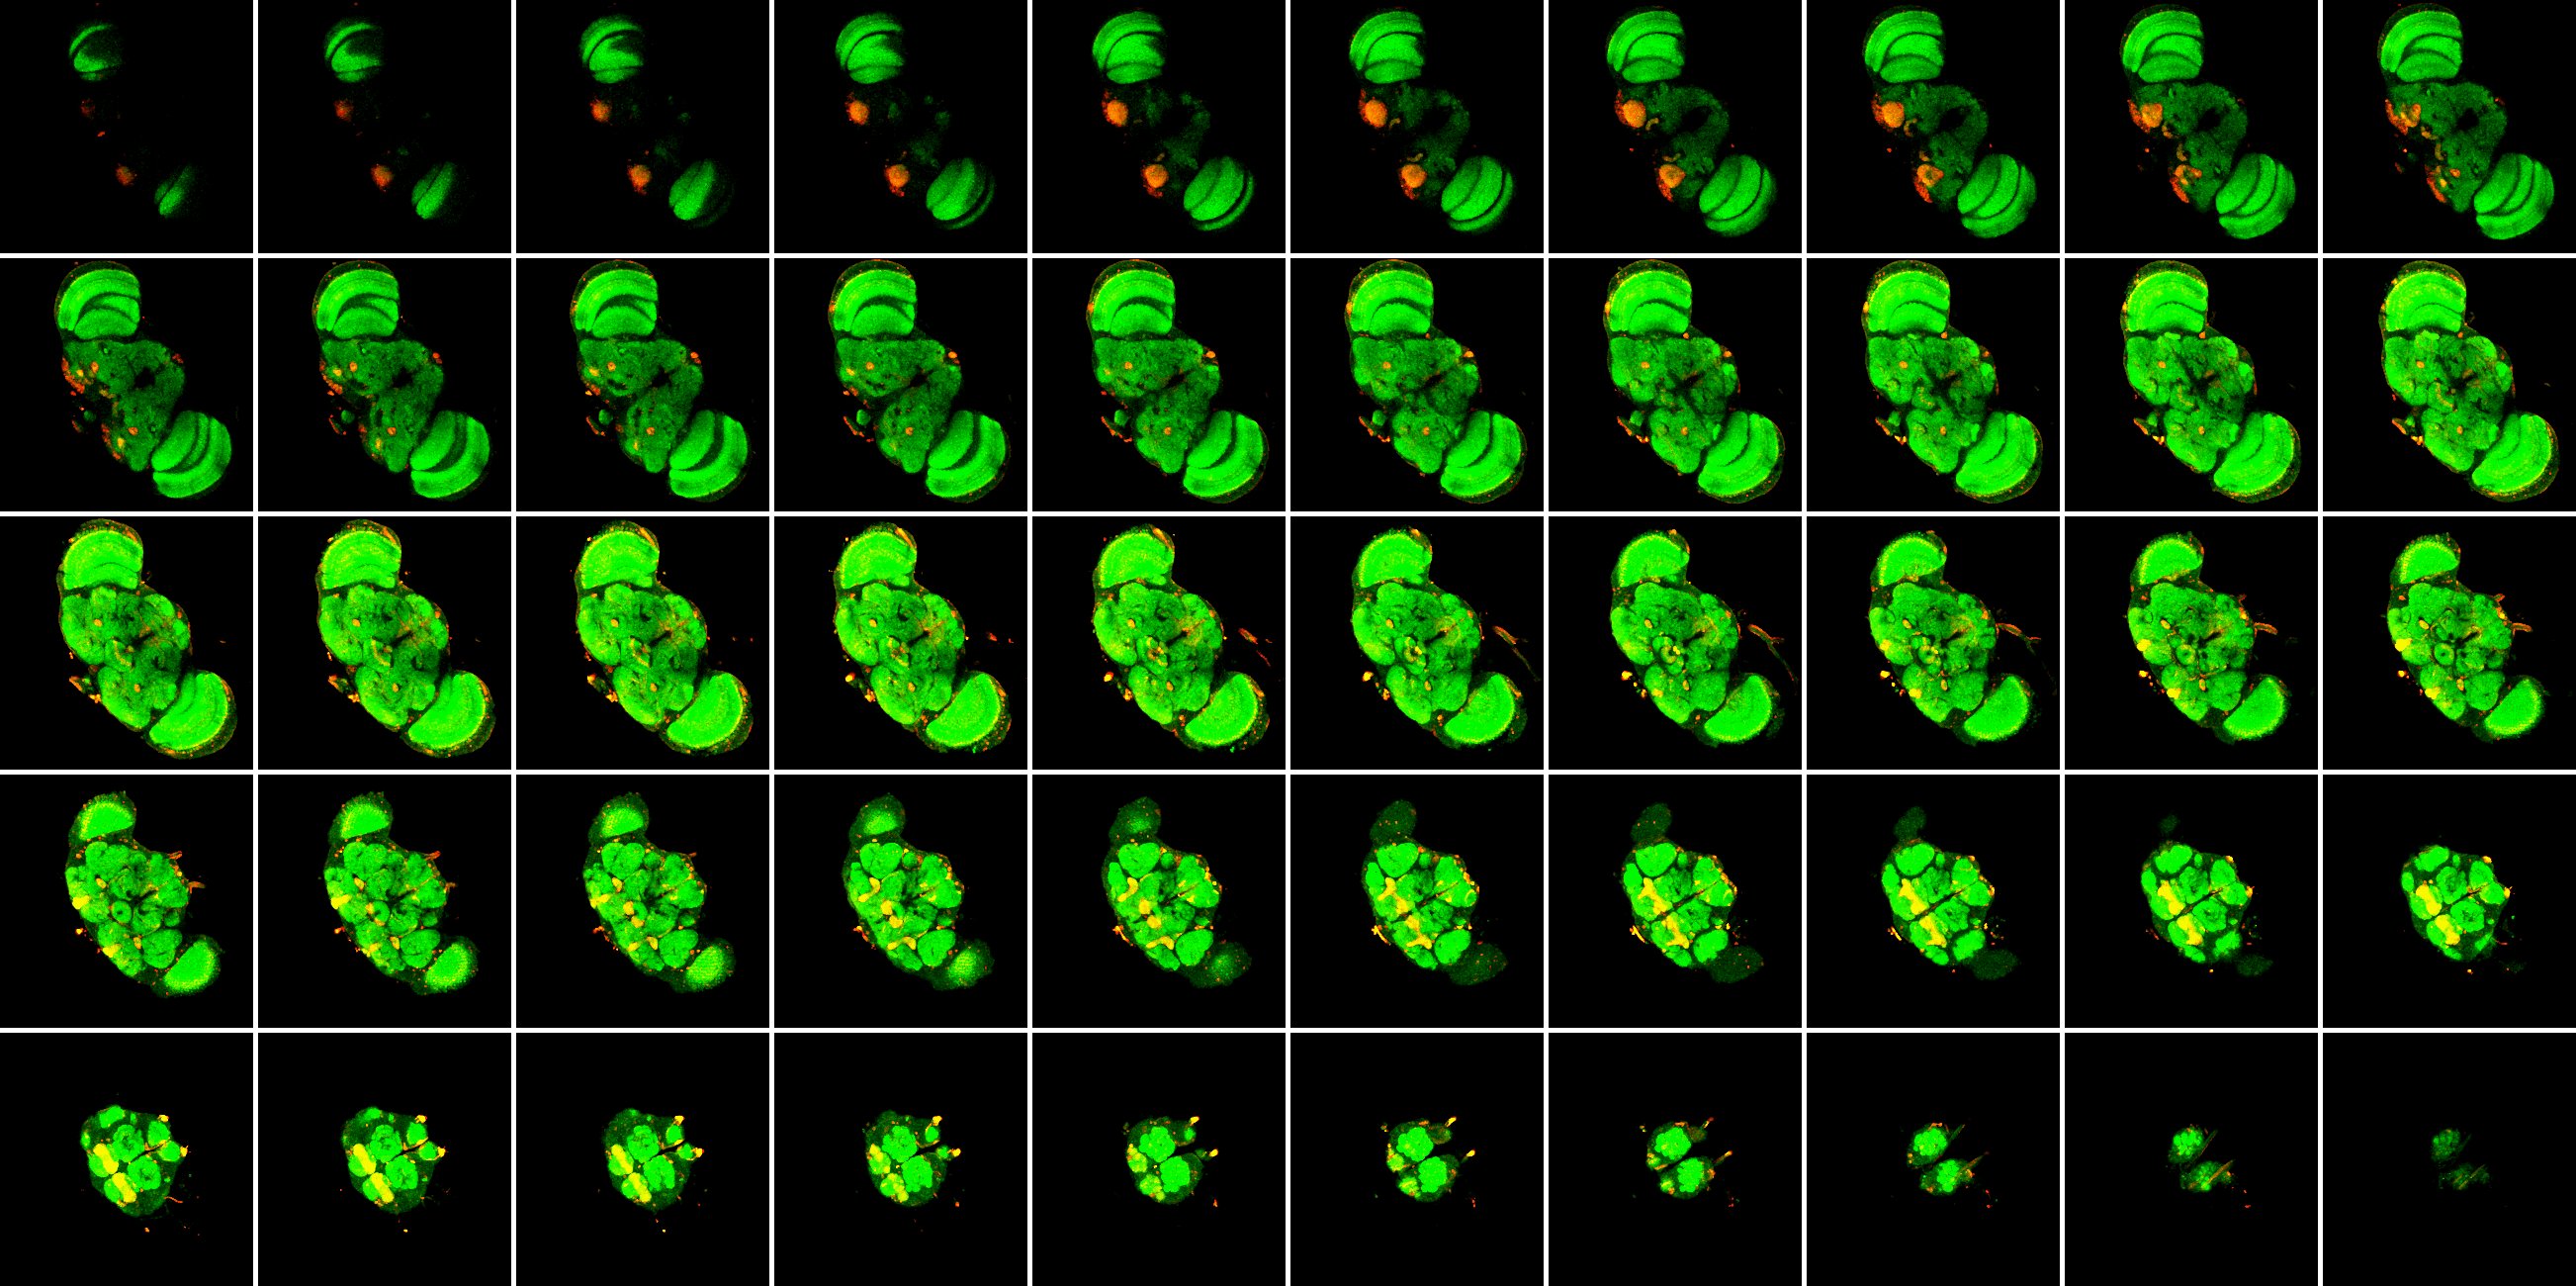
This means that any stack can be used. For example, the fly brain stack that comes with the FIJI distribution of imageJ [File => Open Samples => Fly Brian (1MB)] is a pre-made stack consisting of 57 images that you can access to learn how to use this plugin.
Main Window
The main window is shown to the right. It puts the controls at your fingertips from the beginning. In most cases after you click "OK" on this window, the plugin will proceed directly to building your montage unless you have selected the "Yes" option for editing the stack order.
- Number of Rows: This sets the number of rows in your montage.
- Number of Columns: This sets the number of columns in your montage.
- Image scaling factor: The number entered in the box to the right will be multiplied by the image resolution to scale the image size up or down. Entering "1" preserves the native resolution. The advantage here is that you can build montages without losing any information in your images. This is important for ppi, since you want to make sure your figures are not compressed unnecessarily. For example, Microsoft Office tends to compress images to 220 ppi, which is too low for most journals.
- Image Width (inches): This sets the desired image width in inches thereby completing the setting of ppi. Journals will tell you how wide each type of image should be, so you just enter that information here.
- Close stack after? If you are optimizing your montage it is handy to keep the stack open after you build the montage. If you are doing something routine, it is convenient to have the plugin close the stack for you.
- Edit stack order? If you say "Yes" to this option, then the plugin will be paused after the stack is created, and you will be asked to edit the stack with the stack editor window (see next section).
- Include filename/label? This gives you a couple of options on how you want the images labeled in the montage. The filename can be entered into a text window, a letter label can be added, or nothing can be added to the images.
- Include Border? If you wish to include a border around the montage, then select "Yes". This is useful if you want a few images to appear as a single page appended to a word document. This feature combined with a image width entry of 8.5 inches, will create a "page" with the same width as a standard piece of letter paper. You can append the image to a pdf of your word file in most pdf editors.
Optional Stack Editing
The easiest way to open a bunch of images in imageJ is to drag and drop your selected bunch of images onto the imageJ user interface. However, if you do it this way, the order in which the stack is built will probably not be the order you want. This option lets you edit your stack before the plugin builds the montage.
The plugin is interrupted and two windows popup. One is an "Action Required" window that just pauses the plugin until you select "OK", i.e. after you are satisfied with the stack. The other window is a stack sorter that imageJ supplies. It has a lot of useful options, but the side facing arrows will move the active slice around in the stack, the first and last buttons move the active slice to the first or last position, and delete will delete the active slice. For more info on how to use it please click here.
Fly Brain Example
The image to the right displays the montage created by the setup shown above in the main window. Note that the fly brain stack contains images that are 256x256 pixels. The montage header shows the size of the montage, which is 3.20x4.82 inches. The montage width in pixels is now 517. That is: 256 + 256 + 5, or one image + another image + the border separating the images. The border is set to be 1/50 of the original image width, which is 256 / 50 = 5, in this example.
The ppi for this image is thus 517 pix / 3.2 inches = 162. This is rather low, but it is low because the original image resolution was low. While this montage has a low ppi, it is important to note that no image information was lost in building the montage from the stack. This tells me that I have room for additional columns of images in this figure, because if the journal I am submitting to has a single column figure width of 3.2 inches and minimum ppi of 600. Then instead of upgrading the resolution of this image artificially, I could add five more columns of images to the figure and display 15 more images in the same amount of space with the same resolution.
Therefore, the plugin allows you to present your images in the highest possible resolution, and the smallest possible file size. If the file size becomes extreme, however, you can downsize the images. Reducing the image resolution by 1/2 reduces the file size by 1/4.
Tips
- The plugin usually remembers your previous choices in the main window.
- Use like images for the montage, i.e. same size and aspect ratio.
- You cannot make a montage of a single image.
- You can make an odd montage (e.g. 5 images). Blank regions are allowed.
- The label option supports up to 78 images. The list goes a, b, c,...; aa, bb, cc,...; aaa, bbb, ccc,...
Image Requirements
Any file type that imageJ can read can be used to build a montage.


