BigStitcher Global optimization
Contents
Intro
After calculating and previewing pairwise shift results you can proceed to the global optimization. Since the position of a tile with multiple neighbors is usually not unambiguously defined by the pairwise shifts, this step will iteratively update the transformations of the tiles until a consensus is reached that minimizes the deviation of each tile from the locations proposed by the calculated pairwise shifts.
Furthermore, we apply a few tweaks to improve the results:
- If the global optimization does not find an alignment with sufficiently low error, we will automatically drop disagreeing links from the tile-network and re-run the process. In the worst case, this is repeated until we end up with a minimal spanning tree of the link network.
- If there are multiple connected components in the link network (e.g. distant colonies of cells with large stretches of background between them where we cannot calculate reliable pairwise shifts), we will first align the components using the calculated pairwise shifts and then align the "islands" relative to each other using the locations defined in the metadata (or through manual pre-alignment).
Simple Mode
The simple mode of global optimization requires only selection of an optimization strategy and no explicit setting of the threshold parameters. The simple global optimization is run automatically if you click through the Stitching wizard (in no-expert mode) or can be accessed from the main menu under Optimize Globally And Apply Shift › Simple Mode.
The options available here are:
- Do not find wrong links nor handle not connected tiles: run the global optimization once, taking all the links in the tile-network (that were not filtered out previously) into consideration. This is the fastest strategy, but it might lead to bad results if you have not carefully filtered out bad pairwise shifts or if there are multiple unconnected regions.
- Wrong link identification only: run the optimization iteratively, removing the worst link in the network until the average error of the tiles falls below certain thresholds (presets STRICT and RELAXED). This strategy is more robust against a few "bad" links, but will not move unconnected regions relative to each other.
- Identify wrong links and handle unconnected Tiles: first, run optimization with wrong link identification (with threshold presets STRICT and RELAXED) and then use shifts from metadata to align connected components relative to each other (while keeping the results from the first round within a component).
- Show full options dialog: Allow for the manual setting of thresholds in the next step.
This will immediately update the tile locations in the BigDataViewer, if it is open. If you want to un-do this step, you can click Remove Transformation › Latest/Newest Transformation in the main menu.
Expert Mode
If you click on Optimize Globally And Apply Shift › Expert Mode or proceed to the global optimization from the Stitching wizard in expert mode, you will be asked for a few extra parameters before the your views are aligned.
Optimization strategy and convergence criteria
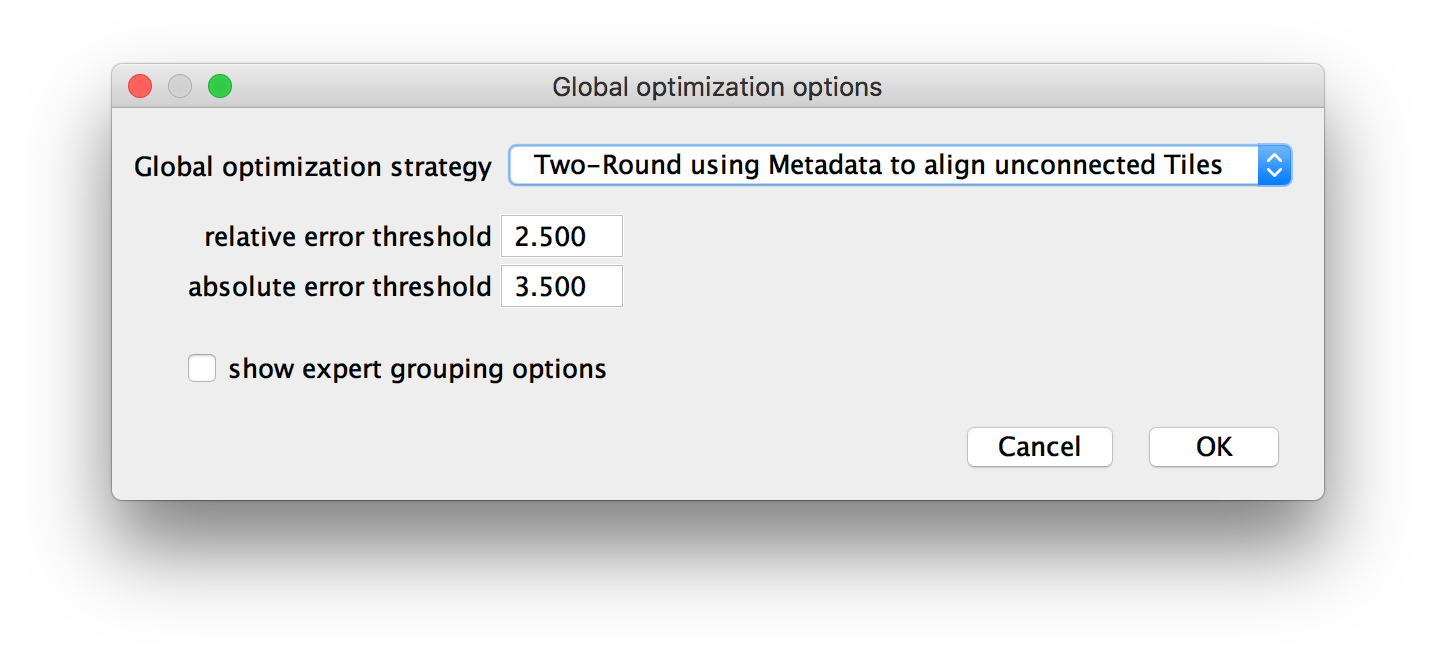
In the first dialog, you will be asked for the optimization strategy to apply:
- Simple One-Round: same as Do not find wrong links nor handle not connected tiles: (see above)
- One-Round with iterative dropping of bad links: same as Wrong link identification only: (see above)
- Two-Round using Metadata to align unconnected Tiles: same as Identify wrong links and handle unconnected Tiles: (see above)
If you opt for any of the iterative strategies, you have to consider the two error thresholds, which determine when to stop dropping bad links and re-doing the optimization:
- relative error threshold: the optimization will be repeated until the largest error of any tile is smaller than the average error of all tiles times the threshold. Lowering this threshold emphasizes consistent quality of the alignment.
- absolute error threshold: the optimization will be repeated until the average error of the tiles falls below this value, which should be set the average magnitude of displacements (in pixels) that is still "acceptable" after alignment.
Note that both stopping conditions have to be met for the optimization to finish.
- show expert grouping options: click this to show expert grouping options in the next dialog (see below).
Intuition for setting the error thresholds
Setting the thresholds can be a bit tricky, because both too high and too low values might lead to undesired results. Intuitively, one would set the 'absolute error' as low as is still acceptable and the 'relative error' rather low to ensure consistent quality. Setting the thresholds too low, however, will result in links being dropped until only a spanning tree of the link graph remains, in which case there is an "error-less" solution for placing the tiles, but it might be sub-optimal due to the emphasis on the remaining links.
Since the processing time for the global optimization is comparatively short and results are immediately displayed in BigDataViewer, manual optimization of these meta-parameters should be feasible, either starting with high values and lowering them or starting with low values and increasing them until the best and most consistent alignment is produced.
We found, however, that the default values of 3.5px absolute error and 2.5 relative error work well in many cases. To give the user a bit more flexibility without confusing them with setting the values directly, we added "STRICT" (default thresholds) and "RELAXED" (default thresholds x2) presets (see above).
Expert view grouping
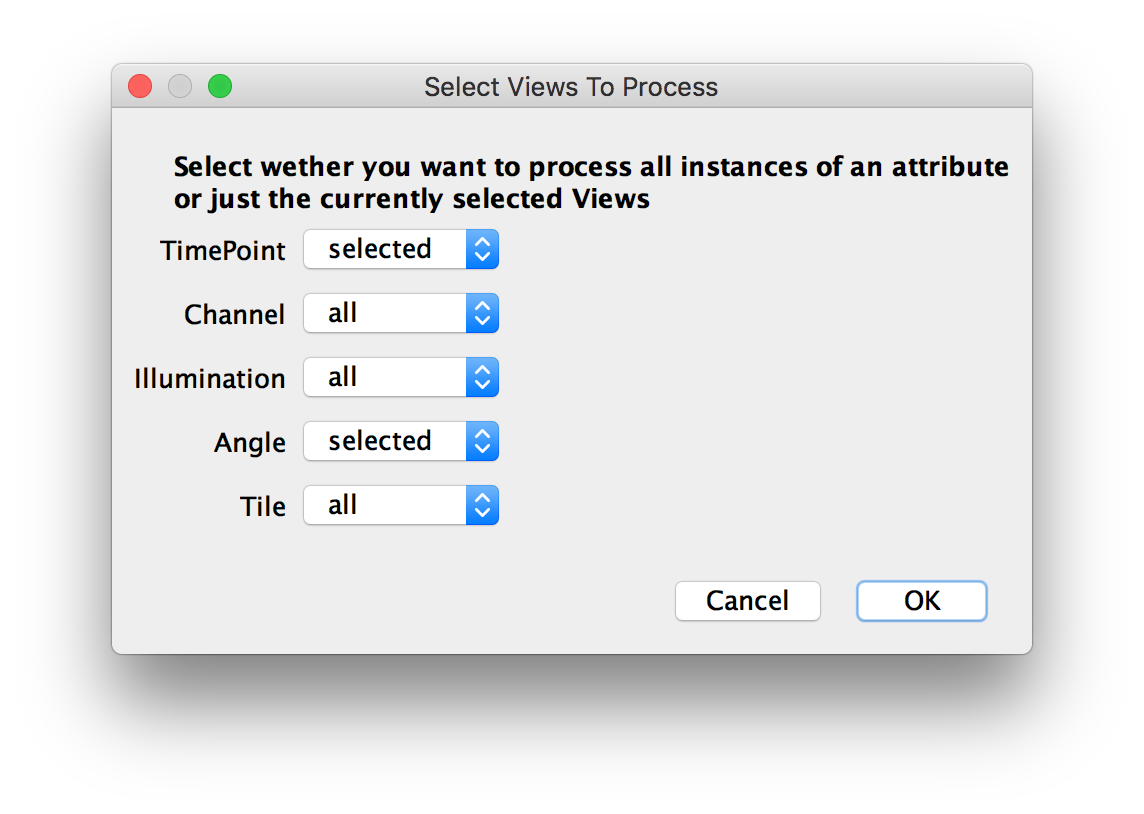
In the next two dialogs, you will be asked which views to include in the global optimization. They are the same as in BigStitcher_Advanced_stitching.
- In the first dialog, you can select whether all instances of an attribute or just the currently selected views should be processed. For example, in the example below, we align all Channels, Tiles and Illuminations, but only for the currently selected timepoint and angle.
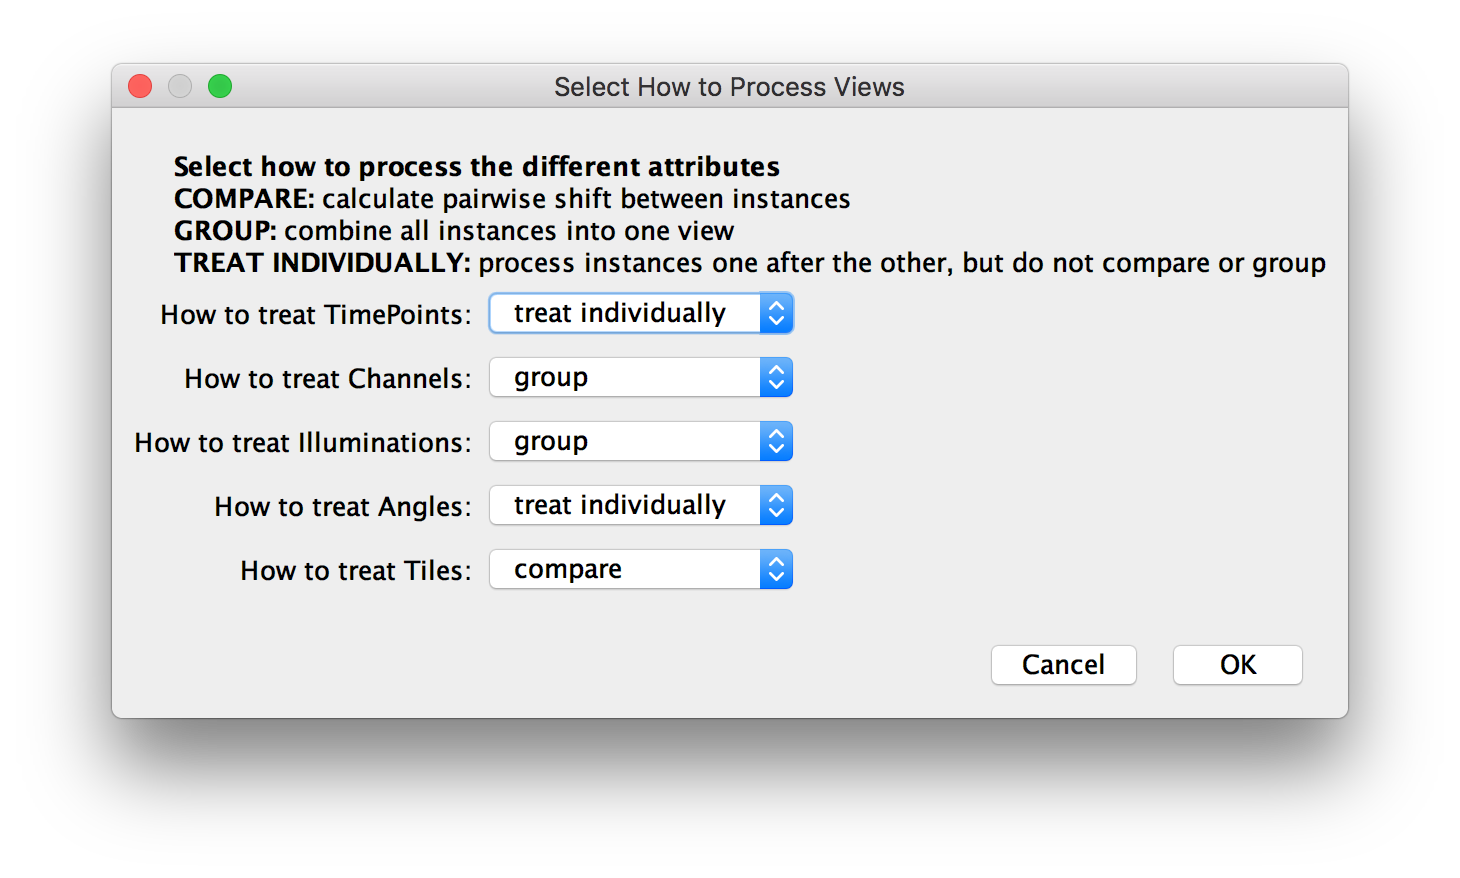
- Select how to process the different attributes. For example, in the figure below, we will treat TimePoints and Angles individually, which means that we will run the global optimization separately for each time point and angle. Likewise, we group Channels and Illuminations, meaning that we will align all channels and illumination directions for a tile the same way. Finally, we compare Tiles, which means that tiles will be aligned relatively to each other.
Fixing views
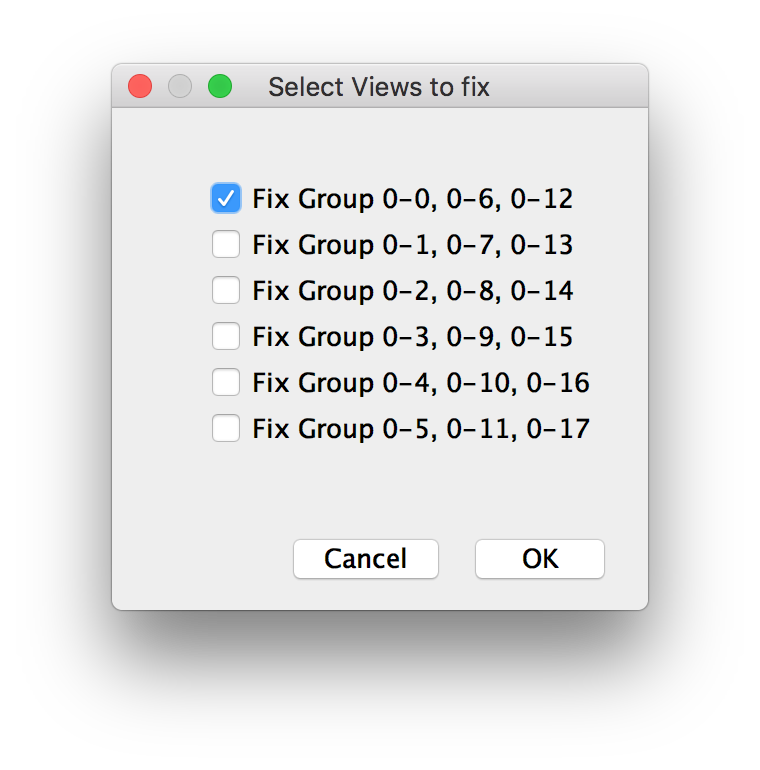
Finally, you will be asked which view groups to fix in each subset that you chose to treat individually. The selected groups will be left where they are and all others will be aligned relative to them.
Note that if you select multiple fixed groups, it might lead to worse results as the original location (e.g. from metadata) might not agree with the calculated relative position of the views.
Normally, the best idea is to select one view group to fix, using it as a starting point that all other views will be moved relative to.
Go back to the main page


